Changing your brake fluid every 2 years can prevent vapor lock brake failure and protect your brake system
Why This Matters (cost/safety/longevity payoff)
Brake fluid is the hydraulic fluid (a liquid that transmits force through a sealed system) that makes your brake pedal pressure actually clamp the brakes and slow the car. If it’s old or contaminated, it can resist heat less effectively, promote corrosion, and absorb moisture that can contribute to vapor lock brake failure (when heat causes fluid to form vapor bubbles that compress, reducing braking force).
This isn’t just “maintenance for maintenance’s sake.” Fresh brake fluid helps your brakes stay consistent in emergencies, and it supports the long-term health of expensive components like the master cylinder and calipers.
Let’s start with the basics and build from there.
What You Need to Know (specs, types, intervals)
Service interval (from the source)
- Change brake fluid every two years.
Use the correct fluid type (from the source)
- Use only the type of brake fluid recommended in your vehicle owner’s manual.
(Brake fluid types vary; using the wrong one can cause poor performance or damage.)
Tools and materials (from the source)
You’ll need:
- Brake fluid bleeder tool
- Fresh brake fluid
- Catch container (for old fluid)
- Rags or paper towels (for cleanup)
Key locations/terms (defined)
- Brake fluid reservoir: The plastic container that stores brake fluid; typically near the master cylinder (the pump that converts pedal force into hydraulic pressure). Often labeled “brake fluid.”
- Bleeder valves / bleed nipple: Small valves on each brake caliper (disc brakes) or wheel cylinder (drum brakes) used to release fluid and air during bleeding.
- ABS (Anti-Lock Braking System): A safety system that prevents wheels from locking during braking to maintain traction and steering control.
Quick Quiz: What’s the “rule” that keeps you from choosing the wrong brake fluid?
Answer: Use only the type recommended in the owner’s manual.
How It Works (8-step, practical procedure)
System Diagram (in your head):
Brake pedal → master cylinder → brake lines → caliper/wheel cylinder → bleeder valve (where old fluid/air exits)
Step 1) Gather tools and materials
Set out your bleeder tool, fresh brake fluid, a catch container, and rags/paper towels. You don’t want to leave the reservoir open while hunting for supplies.
Step 2) Park safely and locate the reservoir
- Park the vehicle on level ground.
- Make sure the engine is not running.
- Find the brake fluid reservoir near the master cylinder (often marked “brake fluid”).
Pro Tip: Before you open anything, wipe dirt off the reservoir cap area with a rag. You want to reduce the chance of contamination entering the system.
Step 3) Open the reservoir
Remove the reservoir cap so fluid can be exchanged. Keep rags handy—brake fluid can be messy.
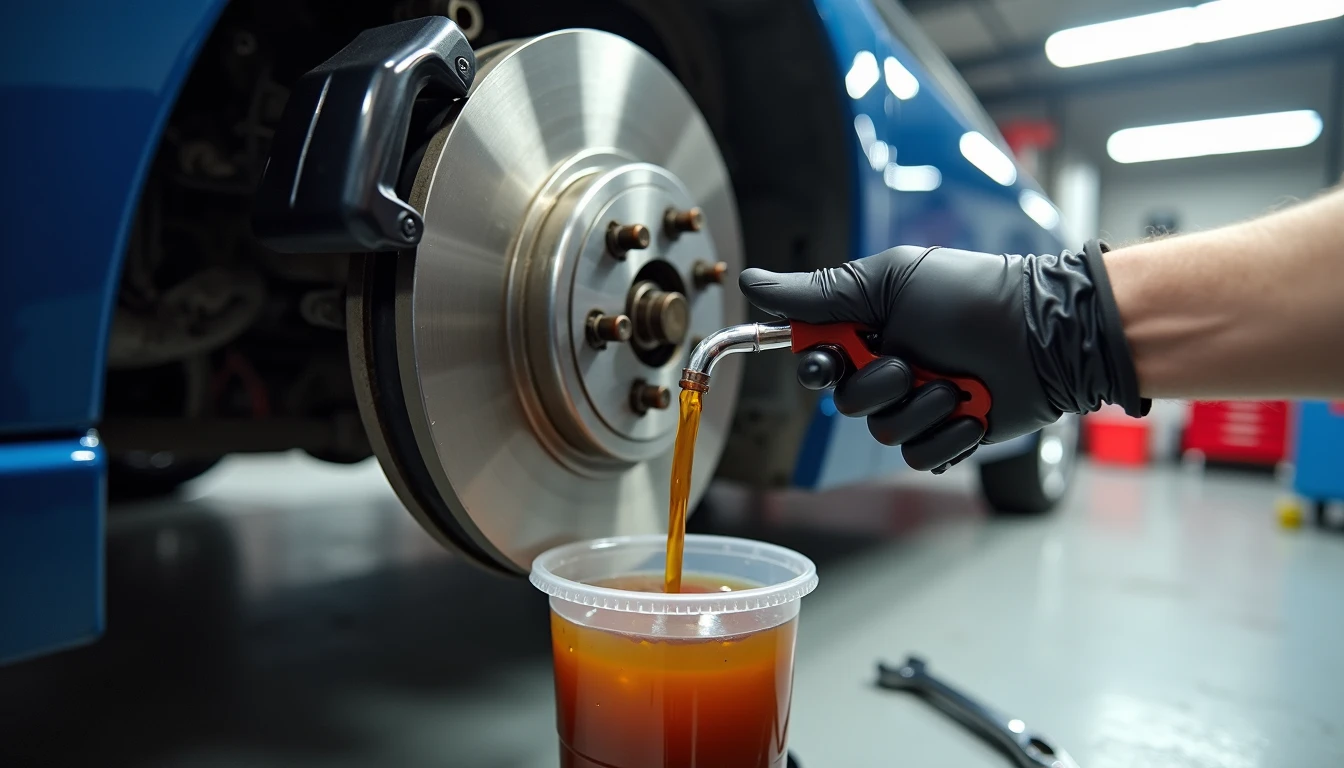
Step 4) Drain old fluid by bleeding at the wheels
Using the brake fluid bleeder tool, begin bleeding the system by opening the bleeder valves located on each brake caliper or wheel cylinder. Route old fluid into your catch container.
The goal here is simple: push old fluid out of the hydraulic circuit and capture it cleanly.
Step 5) Bleed each caliper/wheel cylinder thoroughly
Go to each caliper/wheel cylinder separately and open the bleed nipple to drain the rest of the old fluid and any air bubbles (air compresses, fluid doesn’t—air in lines can cause a spongy pedal). Continue until new fluid flows through.
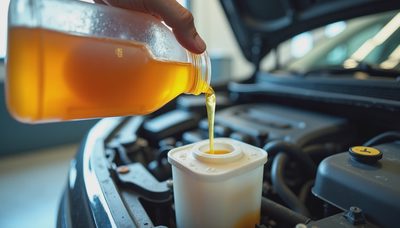
Step 6) Clean and refill the reservoir with fresh fluid
After draining all old fluid:
- Clean the reservoir with a rag or paper towel.
- Fill the reservoir with fresh brake fluid, using only the type specified by your owner’s manual.
Step 7) Top up as you go (do not let it run low)
Keep a close eye on the master cylinder reservoir fluid level and top it off as necessary during the procedure.
Pro Tip: Treat the reservoir like a “do not cross” line—if it gets too low, you can introduce more air into the system, which means more bleeding work later.
Step 8) Repeat for all wheels, then test drive carefully
Repeat the bleeding procedure until you’ve done all calipers/wheel cylinders.
Then:
- Test the brakes to confirm proper operation.
- On a careful test drive, verify the brakes feel responsive and not spongy.
If everything feels normal, the brake fluid change is complete.
Quick Quiz: What does a “spongy” pedal usually suggest after brake service?
Answer: Air bubbles still in the brake fluid/lines.
Common Mistakes (myths, pitfalls, warnings)
Mistake 1: Using “whatever brake fluid is on the shelf”
The source is clear: use only the brake fluid type recommended in your owner’s manual. Mixing or using an incorrect type is asking for trouble.
Mistake 2: Forgetting to monitor reservoir level
If you don’t keep an “attentive monitor” on the master cylinder reservoir and top it off, you risk pulling air into the system. That’s one of the easiest ways to end up with a soft pedal.
Mistake 3: Skipping the final brake test
A brake fluid change isn’t finished until you confirm the brakes are responsive and not spongy. Testing is a safety step, not an optional one.
Myth: “If braking feels off, it’s always the brake fluid”
The source notes ineffective braking can also be caused by issues like warped rotors, worn brake pads, or another brake system component problem. Brake fluid is important, but it’s not the only variable.
Warning sign to take seriously: ABS dashboard light
The source states an ABS dashboard light can indicate an ABS-related problem, and that the ABS system can engage when brake fluid level drops to help maintain stopping safety. Don’t ignore warning lights—inspect and service the system.
Bottom Line (summary, recommended action)
Brake fluid is the force-transfer and protection fluid your brakes depend on, and the source-recommended interval is straightforward: change it every two years. Use a bleeder tool, bleed each caliper/wheel cylinder, keep the reservoir topped up, refill with only the owner’s manual-recommended brake fluid, then road-test to confirm a firm, responsive pedal.