Early Fluid Leak Diagnosis Saves Thousands and Prevents Breakdowns
Why This Matters
Let’s start with the basics and build from there. A fluid leak isn’t just a stain on your driveway; it’s your vehicle’s primary early warning system. Every hydraulic and lubrication circuit in your car operates under specific pressure and volume requirements. When a seal fails or a line cracks, pressure drops, friction increases, and heat spikes. From a wallet perspective, catching a leak early usually means a straightforward gasket or hose replacement. Waiting turns it into overheating, brake failure, or catastrophic engine damage. Safety and cost control both hinge on one discipline: identifying the exact source before the system runs dry.
What You Need to Know
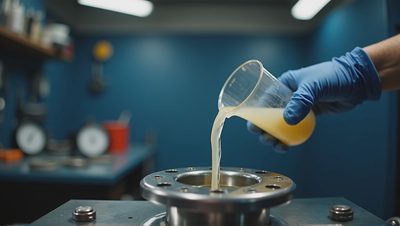
Not all leaks are the same. Your vehicle routes several distinct fluids, each with unique chemical properties and failure points. Identifying the fluid by color, odor, and location allows you to trace the problem to its origin.
• Engine Oil: Typically dark brown or black. Leaks generally stem from worn gaskets (flat seals placed between two stationary metal surfaces), seals (rubber rings around rotating shafts), or a compromised oil filter housing.
• Coolant: Often green, orange, or pink. Leaks usually originate from the radiator, water pump (the mechanical component that circulates coolant through the engine), or loose hose connections. Coolant leaks frequently produce a sweet or chemical-like odor.
• Transmission Fluid: Usually red or brown. Sources include the transmission pan gasket or axle seals.
• Brake Fluid: Clear to light yellow. Leaks indicate issues with brake lines or calipers (the hydraulic clamps that squeeze brake pads against rotors). This is a direct safety concern.
• Power Steering or Differential Fluid: Common in higher-mileage vehicles due to aging rubber seals.
• Diagnostic Cost Structure: A professional leak diagnosis typically costs $100. Many service centers waive this fee if you approve the subsequent repair, and some offer price matching to ensure transparency.
[System Diagram Reference: Visualize a diagnostic flow chart. Start with “Puddle Under Vehicle” → branch into “Color/Smell/Location Check” → route to “Engine/Oil,” “Cooling,” “Transmission,” or “Brake” systems → converge on “Component Isolation & Repair Priority.”]
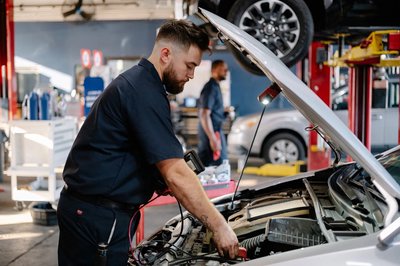
How It Works
Diagnosing a leak follows a systematic inspection protocol. Technicians use a repeatable process to avoid guesswork:
1. Visual Inspection: The technician checks for fluid color, smell, and leak pattern. They trace the drip trail upward to locate the highest point of contamination.
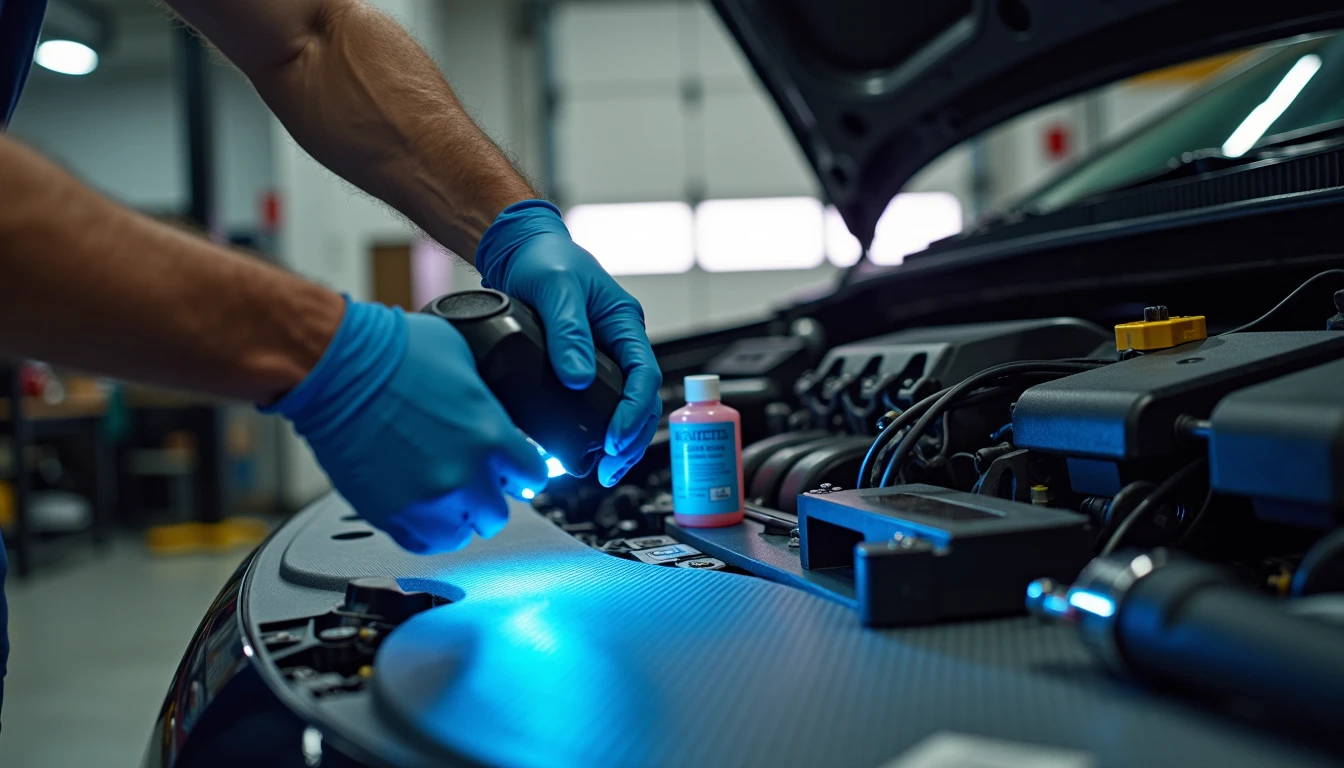
2. Pressure or Dye Test (if needed): If the leak is intermittent or hidden behind components, they introduce UV dye into the system or apply controlled air pressure. UV dye glows under a blacklight, pinpointing micro-fractures or weeping seals.
3. Clean and Confirm: Old residue is wiped away, and the vehicle is driven or the engine is run to isolate active leaks. This prevents misdiagnosis from dried, historical drips.
4. Document and Explain: Findings are recorded with photos or videos. You’ll receive a clear breakdown of what requires immediate attention versus what can be monitored.
5. Apply Diagnostic Credit: If you approve the repair, the initial diagnostic fee is applied toward the labor or parts cost.
Quick Quiz: What’s the first step a technician takes before ordering replacement parts? (Answer: Cleaning the area and confirming the active leak source to avoid replacing the wrong component.)
Common Mistakes
• Myth: “It’s just a few drops; it’s normal.” Reality: Even small leaks worsen over time. Rubber seals dry out, and metal housings warp. What starts as a weep becomes a steady stream.
• Mistake: Mixing up fluid types. Brake fluid and coolant feel different and smell different, but topping off the wrong reservoir causes immediate system failure. Always verify reservoir cap markings before pouring.
• Mistake: Relying solely on stop-leak additives. These products can clog narrow passages like heater cores or oil galleries. They treat symptoms, not root causes.
• Mistake: Ignoring warning lights alongside a leak. While not directly tied to fluid loss, an illuminated dashboard light can indicate secondary damage from low fluid levels or overheating. Early diagnosis saves money and prevents breakdowns.
Pro Tip: Always inspect your parking surface after the car has sat overnight. Cold fluid thickens and moves slower, making fresh drips easier to spot against dry concrete or garage flooring.
Bottom Line
Fluid leaks are diagnostic checkpoints, not minor inconveniences. By understanding the color, smell, and location of the leak, you can communicate effectively with your technician and avoid unnecessary repairs. Stick to the systematic approach: inspect, test, confirm, and repair. If you spot consistent puddles, dropping fluid levels, or unusual odors, schedule a diagnostic inspection immediately. Early intervention preserves your safety, protects your investment, and keeps your vehicle running exactly as engineered.