
Let's start with the basics and build from there. Brake fluid is the lifeblood of your braking system, and over time it absorbs moisture, which lowers its boiling point and can lead to brake fade or failure. Performing a **brake fluid flush procedure** at the right intervals is one of the most overlooked but critical maintenance tasks for your vehicle. In this guide, I'll walk you through what brake fluid does, when to flush it, and exactly how to do it safely in your driveway.
What Is Brake Fluid and Why Does It Need Flushing?
Brake fluid is a hydraulic fluid that transfers the force from your brake pedal to the calipers. Most modern vehicles use DOT 3, DOT 4, or DOT 5.1 fluid, which are glycol-based and hygroscopic—meaning they absorb water from the air. Over time, moisture contamination lowers the fluid's boiling point. Under hard braking, the fluid can vaporize, creating compressible gas bubbles in the lines. That's brake fade, and it's dangerous.
**System Diagram reference:** Imagine the master cylinder pushing fluid through steel lines to each wheel. Any air or moisture in that column ruins the pressure transfer.
Automotive engineering principle: fresh DOT 4 fluid has a dry boiling point around 446°F (230°C). After two years of moisture absorption, the wet boiling point can drop to 311°F (155°C)—a 30% reduction. That's why a regular flush is a safety essential.
When Should You Perform a Brake Fluid Flush?
Most manufacturers recommend a **brake fluid flush procedure** every 2 to 3 years, regardless of mileage. However, if you drive in humid climates (like Atlanta), tow heavy loads, or track your car, flush annually. Visual cues: brake fluid that looks dark brown or black has high moisture content. You can also use cheap moisture test strips—if they show over 3% water, flush immediately.
Brake Fluid Flush Procedure – Step by Step
Here's the step-by-step **brake fluid flush procedure** I teach in my weekend workshops. This traditional two-person method uses gravity and pedal pumping—no special tools required. Always consult your vehicle's service manual for specific bleeding sequence (ABS systems may vary).
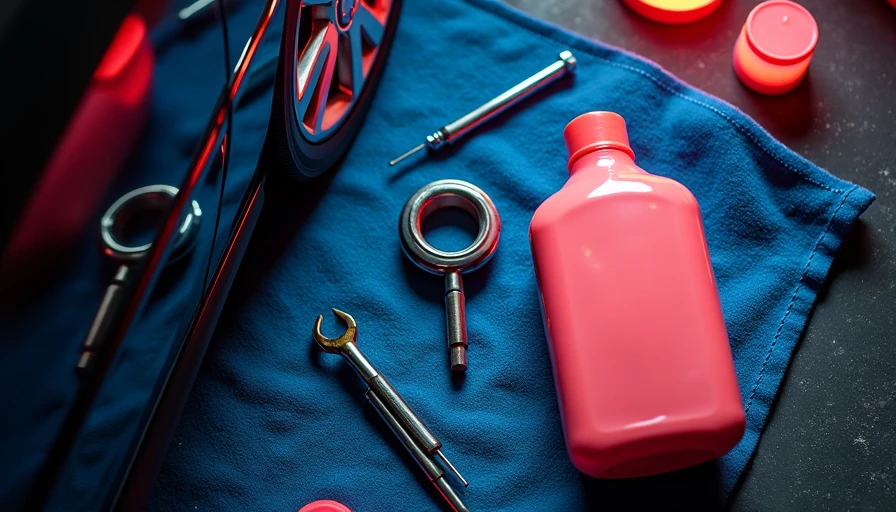
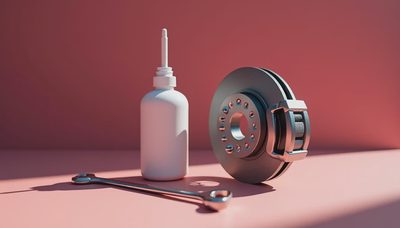
**Tools and supplies:**
- One quart of the correct DOT-rated brake fluid (check your owner's manual; don't mix DOT types)
- Box-end wrench (usually 8mm, 10mm, or 11mm for bleed screws)
- Clear vinyl tubing to fit the bleed screw
- Catch bottle (a clean water bottle works)
- Jack and jack stands
- A helper for the pedal-pumping part
**Step 1: Safety first.** Chock the wheels, lift the car, and place it on jack stands. Never rely on a jack alone.
**Step 2: Remove old fluid from the master cylinder reservoir.** Use a turkey baster or syringe. Don't let the reservoir run dry during the flush—air will enter the master cylinder and be a pain to purge.
**Step 3: Fill the reservoir with fresh fluid to the MAX line.**
**Step 4: Bleed in the correct order.** Typically: right rear, left rear, right front, left front (farthest wheel from the master cylinder first). Consult your manual.
**Step 5: Attach the clear tube to the bleed screw on the first caliper. Submerge the other end in a small amount of fresh brake fluid in the catch bottle (prevents air from re-entering).**
**Step 6: Have your helper pump the brake pedal three times and hold it down. While they hold, open the bleed screw about a quarter turn. Old fluid and bubbles will flow through the tube. Close the screw before your helper releases the pedal. Repeat until clean fluid streams out without bubbles.**
**Step 7: Check the reservoir often and top it off. Never let it drop below the MIN line.**
**Step 8: Repeat for each wheel in the correct order.**
**Step 9: Once all four corners are bled, top off the reservoir again and replace the cap. Test the brake pedal—it should feel firm, not spongy.**
Quick Tips for a Successful Flush
- Use only sealed, unopened brake fluid containers. Fluid absorbs moisture from air even in storage.
- If you have ABS, you may need a scan tool to cycle the ABS solenoid during bleeding. Some older systems are self-bleeding during normal driving. Again, check your manual.
- For a one-person job, a pressure bleeder (like Motive Products) pressurizes the master cylinder and eliminates the need for pedal pumping. It's an investment of about $60–$80 and makes the job cleaner.

Common Mistakes to Avoid
**Mistake 1: Letting the reservoir run dry.** Air introduced into the ABS module can be extremely difficult to remove, sometimes requiring a dealer scan tool. Keep a close eye on fluid level throughout the **brake fluid flush procedure**.
**Mistake 2: Using the wrong fluid.** DOT 5 (silicone-based) should never be mixed with DOT 3/4/5.1—they're incompatible and can damage seals. Always use the type specified by your manufacturer.
**Mistake 3: Not bleeding all four corners.** Skipping a wheel leaves contaminated fluid in that line. Flush them all for a thorough job.
Quick Quiz – Test Your Knowledge
- What is the primary reason brake fluid needs periodic flushing?
- A) It wears out like engine oil
- B) It absorbs moisture over time, lowering boiling point (Correct)
- C) It evaporates quickly
- Which wheel do you typically bleed first in a standard brake flush procedure?
- A) Left front
- B) Right rear (Correct)
- C) Right front
- True or False: You can mix DOT 3 and DOT 5 brake fluids safely.
- False. They are chemically different and can cause seal damage.
**If you remember one concept from this post, make it this one:** The **brake fluid flush procedure** is a simple, effective way to maintain braking performance and safety. Follow the correct order, keep the reservoir full, and use the right fluid. Your brakes—and your passengers—will thank you.
Now, whether you tackle this yourself or hand it to a shop, you know exactly what's involved. That's the power of understanding the science behind the wrench.


No letters yet — be the first to write.