Let's start with the basics and build from there. If you own a rear-wheel-drive or all-wheel-drive vehicle, the rear differential is the component that splits power between the two rear wheels while allowing them to spin at different speeds when turning. The fluid inside — often called gear oil — lubricates the gears and bearings, dissipates heat, and protects against wear. Over time, that fluid breaks down from heat and contamination. A regular **rear differential fluid change** is one of the most overlooked maintenance tasks, yet it's critical for drivetrain longevity. In this guide, I'll walk you through why, when, and how to do it yourself.
What Is a Rear Differential and Why Does Its Fluid Need Changing?
Think of your rear differential as the mechanical translator between your driveshaft and your wheels. It contains ring-and-pinion gears that transfer power at a 90-degree angle, plus spider gears that allow speed difference between left and right wheels. All those meshing parts generate friction and heat. The fluid — usually a high-viscosity gear oil rated 75W-90 or 80W-90 — is formulated with extreme-pressure additives to handle the sliding contact.
But heat cycles cause the additives to deplete, and moisture can seep in through the vent. Over 30,000 to 60,000 miles, the fluid darkens, thickens, and loses its ability to protect. If you tow, off-road, or drive aggressively, change it even sooner. Ignoring a **rear differential fluid change** can lead to whining noises, gear chatter, and eventually a costly rebuild or replacement. A new differential can run $1,500–$3,000 installed — so a $30 fluid change is cheap insurance.
Tools and Materials You'll Need for a Rear Differential Fluid Change
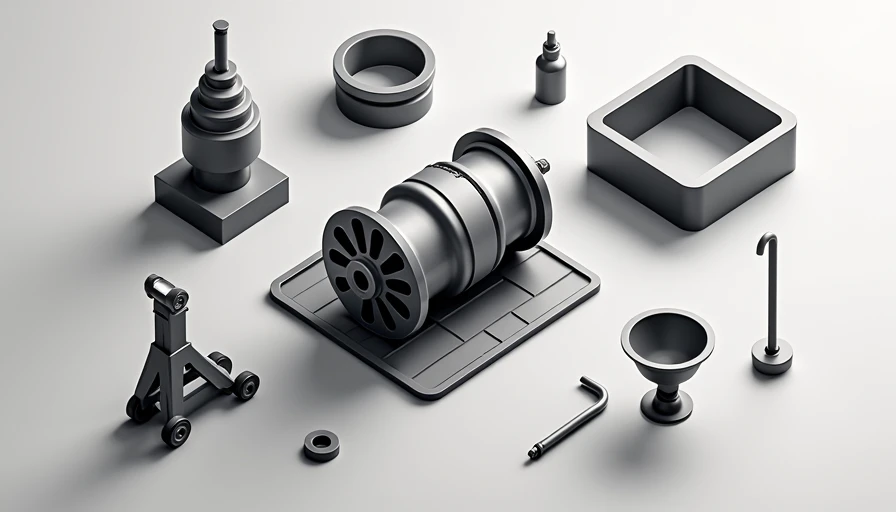
Before you crawl under the car, gather a few things. Most of these you probably already own. Here's the list:
- **Jack and jack stands** — never rely on a jack alone. Ramps work too, if your car has clearance.
- **Drain pan** — capable of holding at least 3 quarts.
- **Socket set** — typically 3/8-inch drive, with extensions. Many rear differentials use a 10mm or 12mm square plug, but some require a hex key (Allen) or Torx bit. Check your service manual.
- **Fluid pump** — gear oil is thick; you can't pour it from a bottle into the fill hole without a pump. A simple hand pump costs about $10.
- **Shop towels** and **brake cleaner** — for cleaning the area around the plugs.
- **New differential fluid** — check your owner's manual. Common types: 75W-90 conventional or synthetic, 80W-90, or 75W-85. Brands like Mobil 1, Valvoline, and Royal Purple are widely available. For a typical passenger car, you'll need about 2 to 3 quarts.
- **Gasket or thread sealant** — some differential covers use a paper gasket; others rely on RTV silicone. For plug-style differentials, a new crush washer (often included with the fluid) is usually enough.
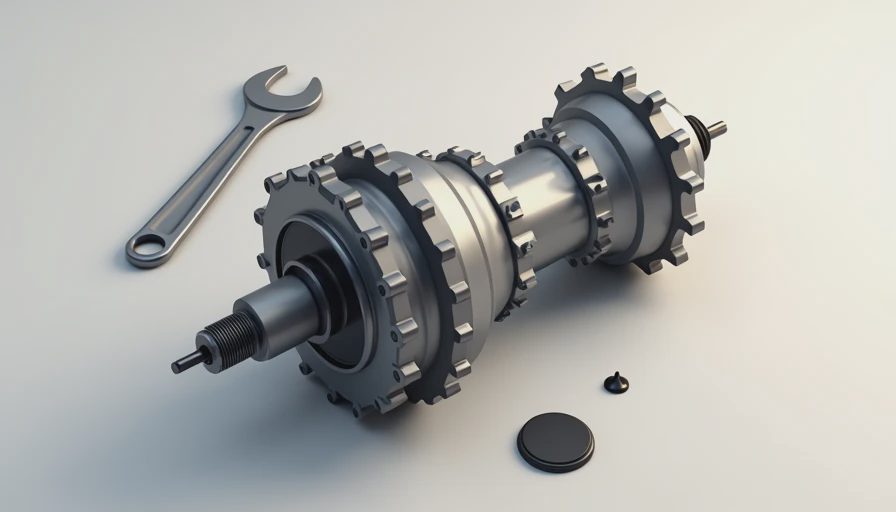
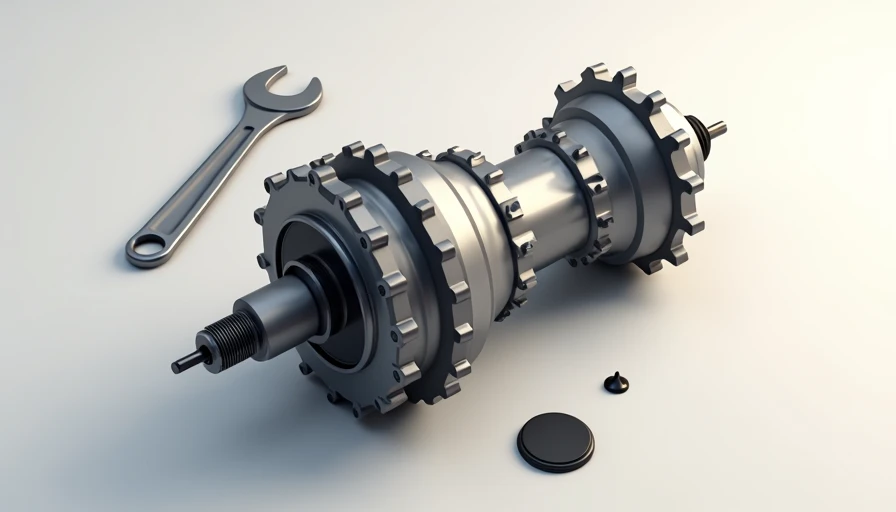
System Diagram reference: Imagine the differential housing as a pumpkin-shaped casting with an input shaft from the driveshaft and two output shafts to the wheels. The fill plug is on the side or front of the housing, usually a square or hex plug. The drain plug (if present) is at the bottom. Some differentials have a separate cover that you remove to drain; plug-style are simpler.
Step-by-Step Rear Differential Fluid Change Procedure
Now let's get to the actual **rear differential fluid change**. I'll describe the plug-style diff first because it's most common on modern cars. Cover-style diffs are similar but require removing and resealing the cover.
1. Lift the Vehicle and Secure It
Park on level ground. Loosen the lug nuts, then jack up the rear of the car and place jack stands under the axle or specified lift points. Lower the car onto the stands. Chock the front wheels.
2. Locate the Fill Plug First
Before you drain anything, find the fill plug. This is critical: if the fill plug is seized or impossible to remove, you don't want to be stuck with an empty differential. Use a breaker bar if needed. Remove the fill plug using the correct tool. Set it aside.
3. Drain the Old Fluid
Position the drain pan under the differential. Remove the drain plug (or the bottom bolts of the cover). Let the fluid drain completely — warm fluid flows faster, but be careful of burns. Clean the drain plug and replace the crush washer if your setup uses one.
4. Clean the Area and Reinstall the Drain Plug
Wipe the housing surface clean. Install the drain plug and torque to specification (usually 15-25 ft-lb). If your diff has a cover, clean the mating surfaces, apply a bead of RTV, and bolt the cover back on.
5. Fill with New Fluid
Insert the fluid pump into the fill hole. Pump new fluid until it just starts to dribble out of the fill hole — that means the fluid level is correct. For a cover-style diff, the fill level is typically at the bottom edge of the fill hole. Replace the fill plug and torque it.
6. Lower the Vehicle and Test Drive
Lower the car, start the engine, and take a short test drive. Listen for any new noises. After a few miles, park on a level surface and check for leaks around the drain and fill plugs.
That's the complete **rear differential fluid change** procedure. It's a straightforward job that most DIYers can handle in an hour or two.
Quick Quiz – Test Your Knowledge
Let's see if the information stuck.
- What type of fluid does a typical rear differential use?
- Why is it important to remove the fill plug before the drain plug?
- How much fluid does a typical passenger car differential hold?
- What tool do you need to get thick gear oil into the fill hole?
Answers: 1. 75W-90 or 80W-90 gear oil. 2. To ensure you can refill before you're stuck with an empty diff. 3. Usually 2 to 3 quarts. 4. A fluid pump.
If you remember one concept from this post, make it this one: A **rear differential fluid change** every 30,000 to 60,000 miles is a small investment that prevents expensive drivetrain repairs. Your differential will thank you with smooth, quiet operation for years to come.
Now go check your owner's manual — your rear differential may be due for some fresh fluid.


No letters yet — be the first to write.