Learning how to flush brake fluid with abs matters because brake fluid transfers your foot pressure into stopping force. Old fluid can absorb moisture, lower its boiling point, and contribute to a soft pedal or corrosion inside the hydraulic system. A careful flush can cost roughly $70 to $150 in supplies and shop labor if you do it yourself, while neglecting contaminated fluid can lead to a much more expensive ABS repair. Let's start with the basics and build from there.
What ABS changes in the brake-fluid flush
ABS means antilock braking system. It uses a hydraulic control unit, electronic sensors, and valves to prevent wheel lock during hard braking. The master cylinder sends pressurized fluid toward this unit, which then controls pressure to individual wheels. A conventional brake bleed replaces fluid in the lines leading to the calipers or wheel cylinders. It does not always replace every pocket of fluid inside the ABS hydraulic control unit.
That distinction explains why how to flush brake fluid with abs is different from simply opening four bleeder screws. Some vehicles allow a complete flush through the normal bleeding procedure. Others require a manufacturer-specific scan tool to command the ABS pump and valves through a service cycle. The owner’s manual or repair manual should decide the procedure, not a generic internet sequence.
Brake fluid is hygroscopic, meaning it naturally attracts and absorbs water from the atmosphere. DOT 3 and DOT 4 fluids are common glycol-based types, while many newer vehicles specify DOT 4 or a particular low-viscosity formula. Never mix in silicone-based DOT 5 unless the vehicle specifically requires it. Use a sealed container with the exact rating printed on the reservoir cap or service information.
Tools, preparation, and safety checks
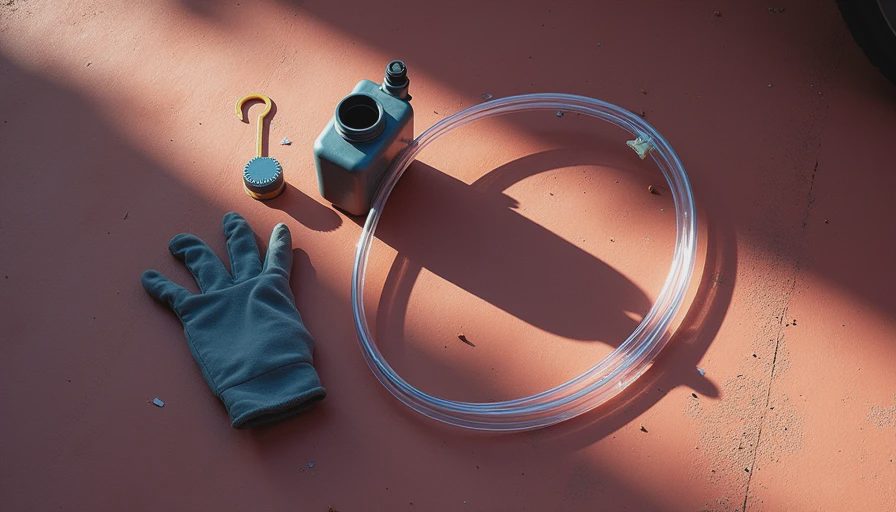
For how to flush brake fluid with abs, gather the correct fresh fluid, a clear hose, a catch bottle, a box-end wrench for the bleeders, jack stands, wheel chocks, protective gloves, and safety glasses. A pressure bleeder can make the job cleaner and more consistent. A vacuum bleeder can work, but air leaking around the bleeder screw threads can make the fluid look foamy even when the system is fine.
Park on a level surface, set the parking brake, and support the vehicle with properly rated jack stands. Do not work under a car held only by a floor jack. Brake fluid damages paint, so cover the fender and wipe spills immediately with water. Clean dirt from around the reservoir before opening it. Dirt entering the master cylinder can damage seals and contaminate the new fluid.
Before starting, inspect the brake hoses, calipers, wheel cylinders, and metal lines for leaks. A flush is not a repair for a leaking system. If the pedal sinks while steady pressure is applied, the fluid level keeps dropping, or a warning light remains illuminated, stop and diagnose the fault first.
The basic flushing sequence
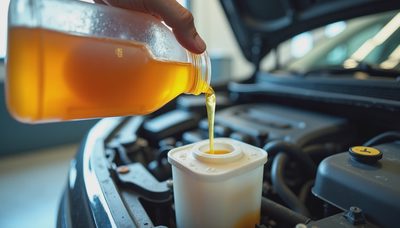
The first step in how to flush brake fluid with abs is removing old fluid from the reservoir with a clean suction tool. Leave enough fluid to cover the outlet ports so you do not introduce air into the master cylinder. Fill the reservoir with fresh fluid, then keep checking it throughout the job. Allowing it to run empty creates a larger bleeding task.
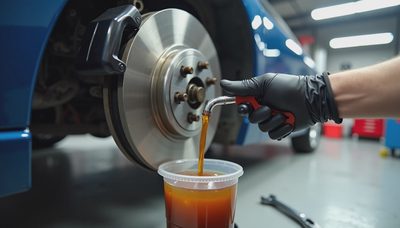
The correct wheel order varies by vehicle. Many rear-wheel-drive cars begin with the wheel farthest from the master cylinder, but diagonal hydraulic circuits and manufacturer instructions can change that sequence. Find the specified order before loosening anything. Attach the clear hose to the bleeder screw and place the other end in a bottle with a small amount of clean fluid covering the hose tip.
With a helper, ask the person in the driver’s seat to press the pedal slowly several times and hold firm pressure. Open the bleeder briefly, then close it before the pedal is released. Repeat until the fluid becomes clean and free of visible bubbles. Do not pump rapidly; that can aerate the fluid and damage an old master-cylinder seal. A pressure bleeder follows the same principle while maintaining controlled pressure at the reservoir.
Where the ABS scan tool fits
A major part of how to flush brake fluid with abs is knowing whether the ABS modulator needs to be activated. A scan tool with ABS service functions can open internal valves and run the pump, allowing trapped old fluid or air to move into the service lines. Some professional tools from brands such as Autel, Launch, and Bosch offer this function, but coverage depends on the exact year, make, model, and brake system.
A basic code reader that only displays engine trouble codes usually cannot perform an ABS bleed. Do not assume that clearing an ABS warning light cycles the hydraulic unit; it does not. If the repair manual calls for a scan-tool bleed, borrow or rent a confirmed-compatible tool or have a qualified shop complete that stage. Running an incorrect automated procedure can introduce air or set additional faults.
If the hydraulic system was never opened at the ABS unit and the fluid is simply being renewed, the standard wheel bleed may be sufficient on some cars. If a brake line, master cylinder, ABS modulator, or caliper was replaced, the chance of trapped air is higher. System Diagram reference: picture the reservoir feeding the master cylinder, the master cylinder feeding the ABS unit, and the unit splitting pressure to each wheel.

How to confirm the job is complete
After learning how to flush brake fluid with abs, confirmation is as important as the flushing itself. With the engine off, press the brake pedal several times. It should become firm and should not continue traveling toward the floor under steady pressure. Start the engine; a small drop as power assist activates is normal, but the pedal should remain controlled and predictable.
Inspect every bleeder screw, hose connection, and caliper for wetness. Set the reservoir to the marked level, reinstall its cap, and clean away spilled fluid. Refit the wheels correctly, lower the vehicle, and perform a slow test in a driveway or empty parking area. Confirm that the vehicle stops straight and that there are no ABS, brake, or traction-control warning lights.
If the pedal feels spongy, repeat the prescribed bleeding sequence rather than driving normally. Persistent softness can indicate air in the ABS unit, a leak, a failing master cylinder, or a problem with a caliper. At that point, professional diagnosis is the safer value than replacing parts by guesswork.
Quick Quiz and final lesson
Quick Quiz: Why should the reservoir never run empty? Because air can enter the master cylinder and hydraulic circuits. What does hygroscopic mean? It describes brake fluid’s tendency to absorb moisture. Can every code reader activate an ABS pump? No; the tool must support the vehicle’s specific ABS service function.
If you remember one concept from this post, make it this one: how to flush brake fluid with abs is a procedure controlled by the vehicle’s service information, not a universal wheel order. Use the specified fluid, prevent air from entering, verify whether a scan tool is required, and test the pedal before returning to traffic. When the system passes those checks, fresh fluid protects braking performance and gives you a clearer maintenance baseline.
No letters yet — be the first to write.