Replace brake fluid on schedule to prevent spongy pedals and avoid a $2,000 hydraulic repair.
Why This Matters
Let's start with the basics and build from there. Brake fluid does not degrade like engine oil, nor does it evaporate like coolant. Instead, it is hygroscopic, meaning it actively absorbs moisture from the surrounding air over time. When water mixes with your brake fluid, it significantly lowers the fluid's boiling temperature. During normal driving, especially under heavy braking, that absorbed moisture can turn into steam. Steam is compressible, unlike liquid, so it creates a spongy pedal that requires excessive pressure to engage your brakes. This reduces stopping power, increases your braking distance, and can ultimately corrode internal calipers and wheel cylinders. Replacing your brake fluid is a low-cost maintenance task that directly protects your safety and prevents expensive hydraulic component failure.
What You Need to Know
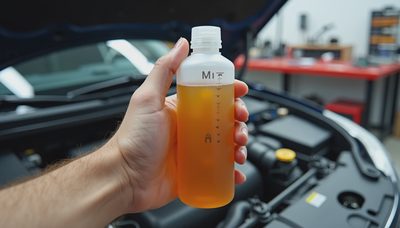
Before you touch a wrench, you must understand the system's operating parameters. Fresh brake fluid is typically clear or translucent. As it absorbs moisture and contaminants, it becomes cloudy or rust-colored. Most vehicle manufacturers specify replacement intervals based on years or mileage, which you will find listed in your owner's manual. If you lack the manual, consult a trusted mechanic for a diagnosis, or perform a simple visual exam and brake test: if your pedal feels mushy or sinks toward the floor, the fluid needs attention.
Quick Quiz: What is the primary risk of moisture-contaminated brake fluid?
Answer: It lowers the boiling point, which can cause brake fade and reduce hydraulic pressure transfer.
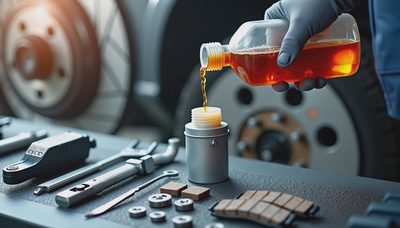
You will need the following equipment: a new, unopened container of the exact brake fluid specified in your owner's manual, a clean turkey baster for fluid extraction, a clear plastic or glass container to catch old fluid, a vehicle jack, jack stands, and a lug wrench. Never use brake fluid if the original container seal is broken, as dirt, water, or other contaminants can cause immediate system damage or failure.
System Diagram Reference: Picture a closed hydraulic loop. The master cylinder reservoir sits under the hood, feeding fluid through rigid metal and rubber lines to each wheel. When you press the pedal, incompressible fluid transfers force to the calipers or wheel cylinders, clamping the brake pads against the rotors. Air or moisture in this loop breaks the pressure transfer, which is why bleeding is mandatory after a fluid change.
How It Works
Changing brake fluid requires patience and a systematic approach. Follow these steps in order:
1. Park your vehicle on a flat, level area and firmly set the parking brake.
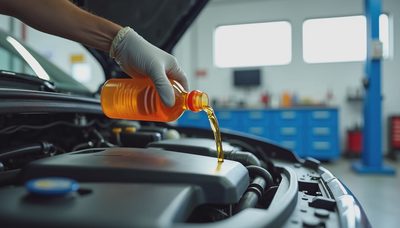
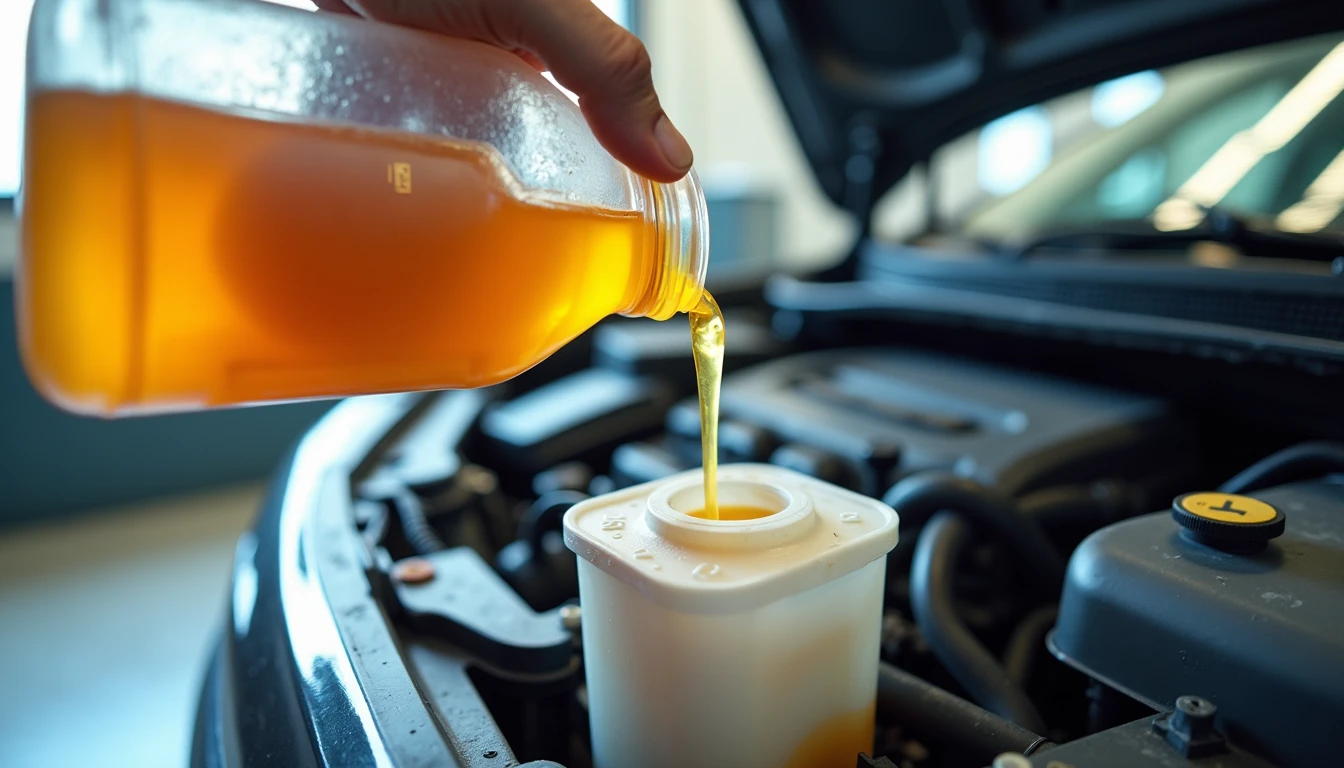
2. Prop open the hood and locate the master cylinder reservoir, which is the plastic container that holds the brake fluid. Consult your owner's manual if necessary.
3. Wipe the outside of the master cylinder cap with a clean rag. This prevents dirt or dust from entering the system when you open it.
4. Use the turkey baster to suction the old fluid out of the reservoir. If possible, wipe the interior with another clean rag.
5. Pour new brake fluid into the reservoir. Ensure the level stays between the minimum and maximum lines, and never exceeds the Full or Maximum line.
6. Replace the reservoir cap securely.
Now, you must bleed the brakes to remove trapped air from the brake lines. You will need a partner to press the brake pedal. Start by loosening all wheel lug nuts with a lug wrench, but do not remove them completely. Place the jack at the manufacturer-specified lift points, raise the vehicle until all wheels are off the ground, and secure it with jack stands. Remove the lug nuts and wheels completely, safely setting all parts aside.
Begin at the rear passenger side brake. Locate the brake bleeder valve, which is a small metal nipple on the brake caliper or wheel cylinder. Attach a clear hose to the valve and place the other end in your clear container. Have your partner press the brake pedal slowly, hold it down, then release. Repeat this cycle while you open and close the bleeder valve to let old fluid and air escape. Refill the master cylinder reservoir frequently to keep it between the minimum and maximum lines, and work through each wheel until the fluid runs clear.
Pro Tip: Keep the master cylinder reservoir above the minimum line at all times during bleeding. If it runs dry, air will enter the entire hydraulic system, forcing you to restart the process from the beginning.
Common Mistakes
Despite what some online forums suggest, you absolutely can overfill your brake fluid reservoir. If you exceed the Maximum line, thermal expansion during normal driving can cause fluid to leak onto painted surfaces or create excessive pressure in the system. Always fill to the recommended range. Another critical error is using the wrong fluid type. Brake systems are engineered for specific chemical formulations. Using an unapproved fluid can swell rubber seals, corrode internal components, and cause catastrophic brake failure. Always consult your owner's manual for the exact specification. Finally, never skip personal protective equipment. Brake fluid is toxic and corrosive. Wear gloves and protective eyewear to prevent skin contact or eye exposure.
Bottom Line
Brake fluid replacement is a straightforward hydraulic maintenance task that directly impacts your vehicle's stopping power and long-term component health. By following your manufacturer's interval, using only unopened fluid that meets your manual's specifications, and bleeding the system methodically from the rear passenger side forward, you eliminate moisture and air from the lines. Take your time, keep the reservoir topped off, and double-check your work. Your brakes are your primary safety system—treat them with the precision they deserve.