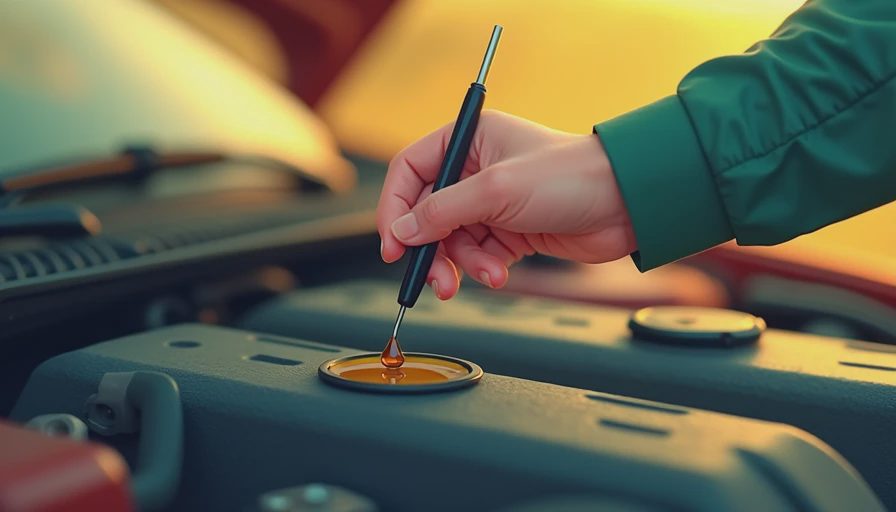
Checking your engine oil is one of the simplest yet most important maintenance tasks you can do. In this guide, I'll walk you through exactly **how to check oil** in your car, from finding the dipstick to interpreting the level. Let's start with the basics and build from there.
Why Oil Matters
Engine oil lubricates moving parts, reduces friction, and helps cool the engine. Low or dirty oil can lead to premature wear, overheating, and expensive repairs. Knowing **how to check oil** regularly gives you early warning of leaks or consumption issues. Think of it as a vital sign check for your car.
What You'll Need Before You Start
Before you pop the hood, gather these items:
- A clean rag or paper towel
- Your owner's manual (if you're unsure where the dipstick is)
- Optional: gloves if you don't want oily hands
Make sure the car is parked on level ground and the engine is **cold** (or has been off for at least 10 minutes). This ensures the oil has settled into the pan for an accurate reading.
Step-by-Step: How to Check Oil Properly
Follow these steps exactly, and you'll get a reliable measurement every time:
- **Locate the dipstick.** It's usually a yellow or orange loop or T-handle near the front of the engine. If you can't find it, check your owner's manual.
- **Pull the dipstick out** and wipe it clean with your rag.
- **Reinsert the dipstick fully**, then pull it out again.
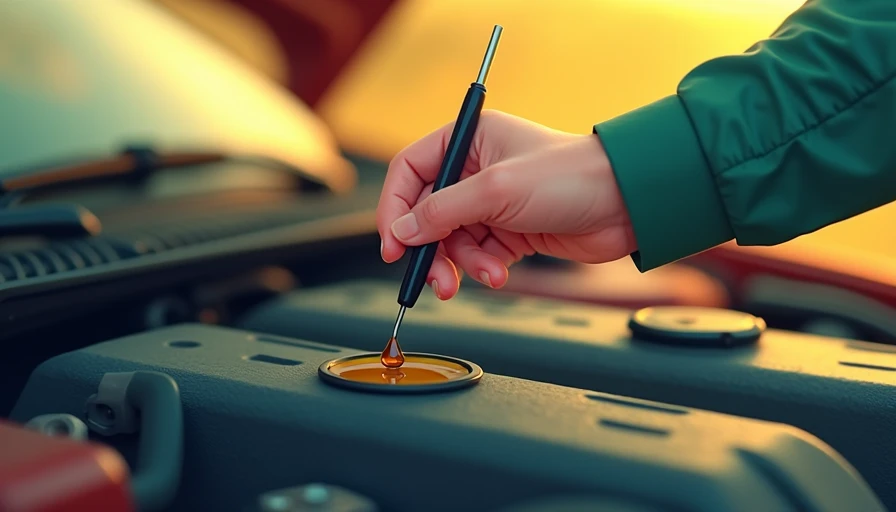
- **Read the level.** The dipstick has two marks: "Low" and "Full" or a crosshatched area. Oil should be between those marks. If it's at or below "Low," you need to add oil.
- **Check the oil's condition.** Healthy oil is amber or light brown. If it's dark, gritty, or smells burnt, it's time for an oil change.
Interpreting the Results
If the oil level is correct and the oil looks clean, you're good to go. If it's low, add a quart of the oil grade recommended in your owner's manual (e.g., 5W-30). Pour slowly, recheck, and avoid overfilling. Overfilling can cause foaming and damage seals.
If the oil looks milky or has visible coolant in it, that's a sign of a head gasket leak. If it's thick and sludgy, severe engine deposits may be present. In either case, consult a mechanic.
How Often Should You Check Your Oil?
Most manufacturers recommend checking oil at every other fill-up, or at least once a month. If you drive an older car or frequently tow, check more often. For newer cars with electronic oil life monitors, a monthly visual check still catches leaks early.
Some drivers rely on dashboard warning lights, but by then you may have already run the risk of damage. A manual check takes two minutes and gives you peace of mind.
Quick Quiz: Test Your Knowledge
- When is the best time to check oil? (Cold engine or after a long drive?)
- What does milky oil indicate?
- True or false: Overfilling oil is better than underfilling.
Answers: 1. Cold engine (or 10+ minutes off). 2. Possible coolant leak. 3. False—overfilling can cause just as many problems.

Common Mistakes to Avoid
- **Checking on a slope** – Park on level ground for an accurate reading.
- **Checking right after driving** – Hot oil expands, giving a falsely high reading.
- **Misreading the dipstick** – Wipe and reinsert for a clean reading.
- **Ignoring oil color** – Dark, sludgy oil needs changing even if the level is fine.
By mastering **how to check oil**, you're taking a proactive step in car care. It's a simple habit that can save you from costly engine repairs down the road. If you remember one concept from this post, make it this one: regular checks let you catch problems before they become emergencies.
How to Properly Add Oil If Your Level Is Low
If your check reveals the oil is below the "Low" mark, don't panic. Adding oil is straightforward. First, make sure the engine is cool. Locate the oil fill cap on top of the engine—it's usually labeled with an oil can icon or the word "Oil." Unscrew it and set it aside. Use a funnel to avoid spills, especially if the fill hole is small. Pour in a small amount—about half a quart—then wait a minute for the oil to drain into the pan. Recheck the level with the dipstick. Repeat until the level is between the two marks. Always use the oil grade specified in your owner's manual (e.g., 5W-20 for many Fords, 0W-20 for many Toyotas). Never mix different viscosities unless specified. After adding, replace the cap securely and start the engine to check for leaks. This simple top-up, combined with regular checks, ensures your engine stays well-lubricated between oil changes.
**System Diagram reference:** The dipstick tube connects directly to the oil pan. Oil is drawn up from the pan by the oil pump, circulated through the engine, then drains back. The dipstick measures the oil in the pan—hence the level check.
Now go pop your hood and practice! Your engine will thank you.



No letters yet — be the first to write.