Maintenance oil analysis is a practical way to learn what is happening inside an engine before a warning light, noise, or breakdown provides the answer. Instead of judging oil only by its color, a laboratory examines a small sample for wear metals, contaminants, viscosity, and other clues. That information can help a car owner confirm that an engine is healthy, identify a developing problem, and make better service decisions.
Let's start with the basics and build from there. Engine oil lubricates moving parts, carries heat away from bearings and pistons, suspends dirt, and helps protect metal surfaces from corrosion. As it works, the oil collects microscopic material from the engine. Some of that material is normal. An unusual amount, or a sudden change from one sample to the next, deserves attention.
What Maintenance Oil Analysis Measures
A laboratory report usually begins with viscosity, which means the oil's resistance to flowing. A result that is lower than expected can suggest fuel dilution, solvent contamination, or an oil grade that has broken down. A higher result can point to oxidation, thickening, or contamination from another fluid. The report compares the measured result with the oil's intended viscosity range.
The laboratory also checks wear metals. Iron can come from cylinder walls, camshafts, gears, and other steel components. Aluminum may originate from pistons, bearings, or housings. Copper and lead can provide clues about bearing or bushing wear, although their meaning depends on the engine design. These numbers are not a diagnosis by themselves. They become useful when compared with the vehicle's previous samples and mileage.
Other measurements include insolubles, which are suspended or trapped particles; water; fuel; and coolant indicators. Some reports also list additive elements such as calcium, magnesium, zinc, and phosphorus. Additives are chemicals blended into oil to control deposits, wear, and oxidation. A change in additive levels can help identify top-offs with a different product or an incorrect oil.
When Should You Send a Sample?
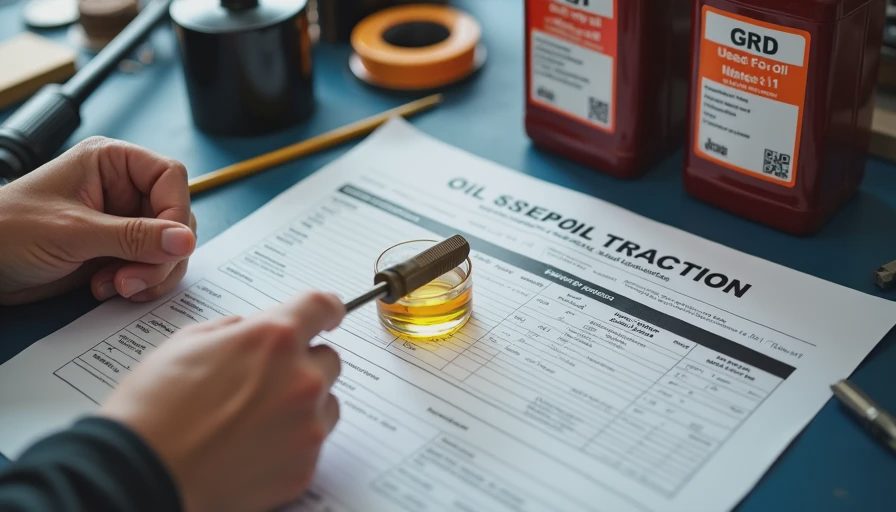
The best time for maintenance oil analysis is during a routine oil change, after the oil has circulated at normal operating temperature. A warm, well-mixed sample is more representative than oil taken only from the first cold drip. Do not collect a sample from the drain pan after it has been sitting on a dirty surface; that can introduce outside debris.
For a personal vehicle, one sample can establish a baseline after a normal service interval. A second sample at the next oil change shows whether the results are stable, improving, or worsening. A driver who changes oil every 5,000 miles might sample at 5,000 and 10,000 miles, then continue annually if the engine remains consistent. Shorter intervals make sense for a turbocharged engine, high-mileage vehicle, towing duty, or a car with an unexplained noise.
Use a clean sample bottle supplied by the laboratory. Record the vehicle mileage, oil brand and viscosity, distance traveled on the oil, filter brand, and any oil added between changes. That context matters. A report from a 2012 pickup that hauled a trailer through summer traffic should not be interpreted like one from a lightly used sedan.
How to Read the Report Without Jumping to Conclusions
Maintenance oil analysis reports often mark results as normal, cautionary, or abnormal, but the trend matters more than one isolated number. For example, a modest increase in iron after a new engine break-in period may be expected. The same increase in a mature engine, repeated over several samples, could justify further inspection.
Look first for fuel dilution. Fuel in oil reduces viscosity and weakens the lubricating film, the thin layer that keeps metal surfaces separated. Possible causes include repeated short trips, a leaking injector, incomplete combustion, or a mechanical problem. A strong fuel odor, rising oil level, or unusually thin oil adds practical evidence, but laboratory testing is more reliable than smell alone.
Next, check for coolant indicators and water. Coolant contamination can reduce lubrication and create deposits. It may result from a failing head gasket, oil cooler, or another leak path. Do not treat a clean-looking dipstick as proof that coolant is absent. Some contamination is too small to see, while other failures create obvious tan sludge.
Finally, compare wear metals with the oil's age. A high number after 1,000 miles means something different from the same number after 10,000 miles. If a report looks concerning, pause before replacing parts. Confirm the sample information, inspect the oil level, check for leaks, and ask a qualified technician to connect the laboratory findings with compression, pressure, or visual tests.
Maintenance Oil Analysis Versus Guesswork
Color is a weak diagnostic tool. Dark oil can still be protecting an engine because detergents are holding soot and deposits in suspension. Fresh oil can look clean while fuel dilution or early wear is developing. A magnetic drain plug may collect ferrous particles, but it cannot measure fuel, coolant, viscosity, or nonmagnetic wear.
Maintenance oil analysis is especially useful when buying a used vehicle, monitoring a high-mileage engine, or evaluating whether an extended drain interval is sensible. It can support a purchase decision, but it is not a substitute for a pre-purchase inspection. Likewise, a favorable report does not guarantee that the transmission, cooling system, brakes, or electrical system are healthy. It answers a narrower question: what does this oil sample reveal about internal engine conditions?
Commercial laboratories commonly charge roughly $20 to $50 for a basic kit, with additional fees for expanded testing. That is a small cost compared with an engine repair that can reach several thousand dollars. The value is greatest when samples are taken consistently and the results are stored together rather than treated as disconnected paperwork.
A Simple Sampling Procedure for Owners
Warm the engine with a normal drive, park safely on level ground, and follow the vehicle's oil-change instructions. Wear gloves and keep the bottle, cap, and paperwork clean. If using a drain-stream sample, let the first oil leave the pan before filling the bottle midway through the flow. If using a vacuum pump through the dipstick tube, use clean tubing and never contact the bottom of the oil pan with contaminated equipment.
Seal the bottle immediately, write down the mileage and oil details, and mail it according to the laboratory's instructions. Keep the report with service records. If maintenance oil analysis identifies high fuel, coolant, or wear-metal levels, avoid extending the oil interval while you investigate. A mechanic can use the result alongside oil-pressure testing, a compression test, leak-down testing, or an inspection of the filter and drain plug.
Quick Quiz and the Main Lesson
Quick Quiz: Why is a trend more useful than one alarming number? Because engine designs, oil age, break-in conditions, and sampling quality all influence individual results. Repeated samples create a baseline that makes genuine change easier to recognize.
System Diagram reference: Picture the path from the oil pan to the pump, filter, galleries, bearings, camshaft, and back to the pan. Wear material can enter that circulation, while the filter captures only part of it. That is why the sample and the filter should be considered together.
If you remember one concept from this post, make it this one: maintenance oil analysis does not replace maintenance or diagnosis. It adds evidence. Use it at regular intervals, record the details, and interpret the report as a trend. That approach turns used oil into a small but valuable window into your engine's condition.



No letters yet — be the first to write.