Let's start with the basics and build from there. If you own a four-wheel-drive (4WD) or all-wheel-drive (AWD) vehicle, **changing transfer case fluid** is a maintenance task you shouldn't skip. The transfer case is the component that splits power between the front and rear axles. Over time, the fluid inside breaks down from heat and friction, losing its ability to lubricate and cool. Skipping this service can lead to expensive repairs—think $1,500 or more for a replacement. In this guide, I'll walk you through why, when, and how to do the job yourself. By the end, you'll have the confidence to tackle it in your driveway.
What Is Transfer Case Fluid and Why Does It Need Changing?
Transfer case fluid is a specialized lubricant designed to handle the unique demands of the transfer case. Unlike engine oil, it doesn't burn off, but it does degrade. Heat cycles, moisture contamination, and metal wear particles accumulate over time. Most manufacturers recommend **changing transfer case fluid** every 30,000 to 60,000 miles, but check your owner's manual for the exact interval. I've seen transfer cases fail at 80,000 miles with original fluid still in them—the bearings were shot and the unit had to be replaced. A simple fluid change costs about $30 in materials and an hour of your time. Neglect it, and you're looking at a $1,500+ repair bill. That's real money.
Tools and Materials You'll Need
Before you start, gather these items:
- **Transfer case fluid** – Check your owner's manual for the correct type (e.g., ATF, synthetic gear oil, or specific OEM fluid). I always buy an extra quart just in case.
- **Fluid pump** – A hand-operated or drill-driven pump makes filling a lot easier.
- **Socket set and ratchet** – You'll likely need a 3/8-inch drive and the correct socket for the fill and drain plugs (often a 10mm, 13mm, or 15mm hex, or a square drive).
- **Drain pan** – At least 5-quart capacity.
- **Torque wrench** – To tighten plugs to spec (usually 18-30 ft-lbs).
- **Rags and gloves** – Fluid can be messy and irritating to skin.
- **Vehicle ramps or jack stands** – You need the vehicle level and safely raised.
Some transfer cases have a fill plug and a drain plug; others have a single plug that serves both. If yours has only one plug, you'll need a suction gun to draw out the old fluid.
Step-by-Step: Changing Transfer Case Fluid
Step 1: Safety and Preparation
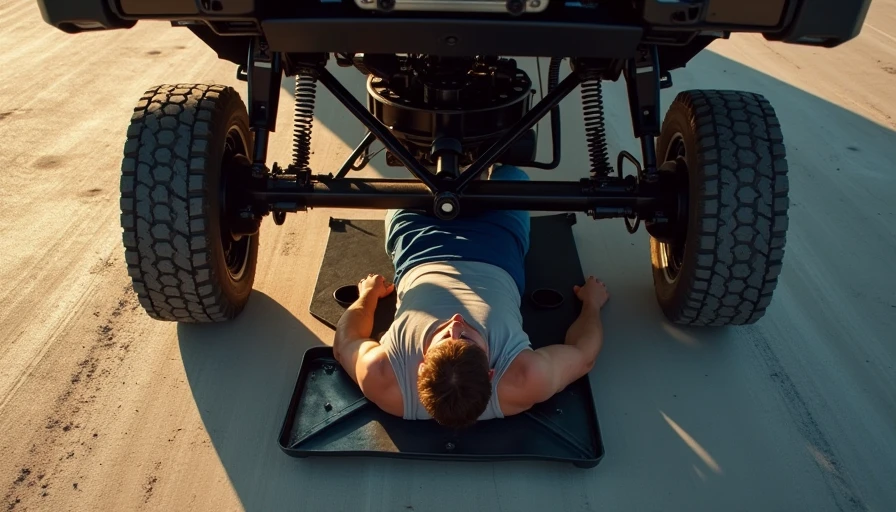
Park on a level surface. Engage the parking brake. Raise the vehicle securely with ramps or jack stands. Never work under a car supported only by a jack. Let the vehicle cool so the fluid isn't hot enough to burn you, but warm fluid drains faster.
Step 2: Locate the Transfer Case
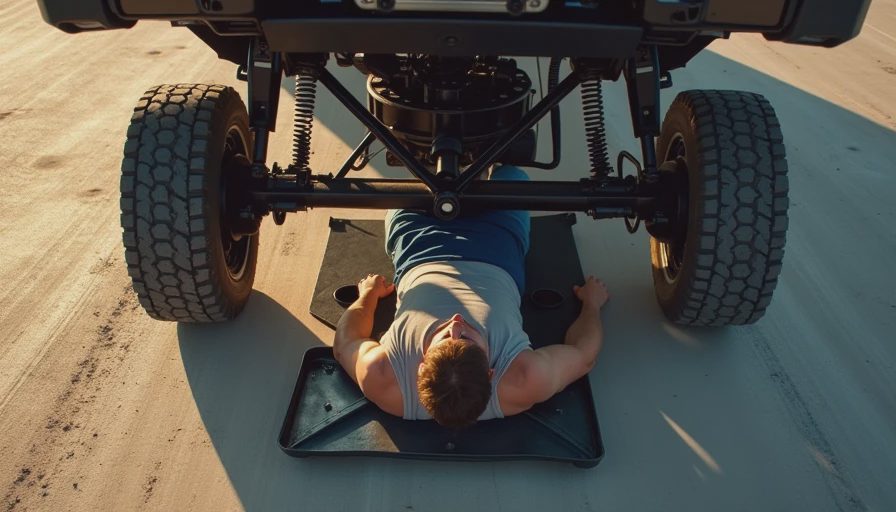
Crawl under the vehicle. The transfer case is bolted to the back of the transmission (on a truck or SUV) or integrated with the transaxle (on a car-based AWD). It looks like a smaller gearbox with metal lines or an electrical connector. Clean the area around the fill and drain plugs with a brush or rag to prevent dirt from falling in when you remove them.
Step 3: Remove the Fill Plug First
Always remove the fill plug before the drain plug. If you can't get the fill plug out, you won't be able to refill the case—and you'll be stuck with an empty transfer case. Use your socket or hex key to loosen it gently. If it's stuck, a little penetrating oil and a breaker bar may help.
Step 4: Drain the Old Fluid
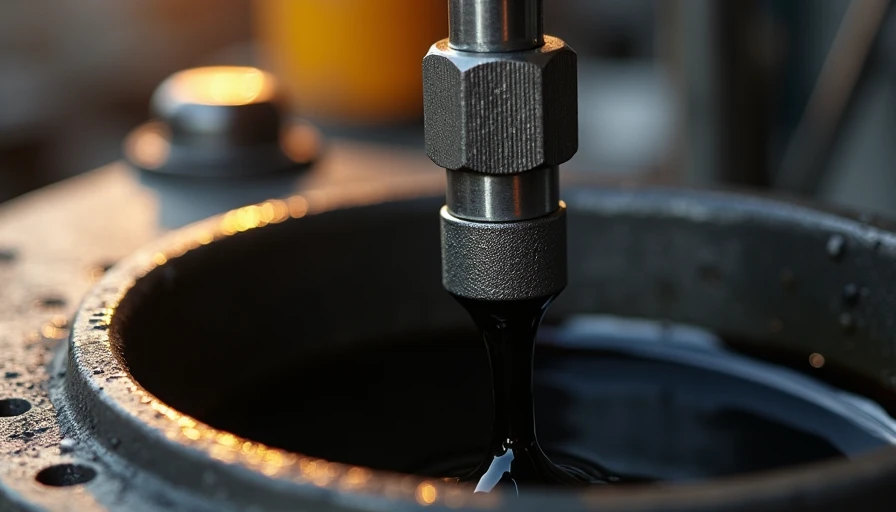
Position your drain pan under the transfer case. Remove the drain plug (if equipped) and let the fluid flow out. Inspect the fluid's color and smell. Fresh fluid is clear or red; old fluid may be dark brown or black and have a burnt odor. Look for metal shavings on the plug's magnet. A few fine particles are normal; chunks indicate internal wear.
Step 5: Reinstall the Drain Plug
Once the fluid stops dripping, clean the drain plug threads and replace any sealing washer. Tighten the drain plug to the torque spec in your service manual. Over-tightening can strip threads or crack the case.
Step 6: Refill with Fresh Fluid
Use your fluid pump to add new fluid through the fill hole. Fill until fluid starts to trickle out of the fill hole. This ensures the correct level. Replace the fill plug and tighten it to spec.
Step 7: Test and Check for Leaks
Start the engine and shift through all drive modes (4H, 4L, etc.) while the vehicle is still raised. Let it idle for a minute, then check for drips under the transfer case. Lower the vehicle and take a short test drive. Afterward, recheck the fluid level (some transfer cases require checking at operating temperature with the engine running—consult your manual).
Common Mistakes to Avoid
- **Using the wrong fluid** – Transfer cases are picky. Using ATF in a unit that requires synthetic gear oil can cause shifting issues or damage. Always double-check the specification.
- **Overfilling** – Too much fluid creates pressure that can damage seals. Fill only until it runs out of the fill hole.
- **Ignoring the fill plug first** – As I mentioned, if the fill plug is seized, you're in trouble. Always check it before draining.
- **Skipping the torque wrench** – Guessing the tightness can lead to leaks or stripped threads. Use a torque wrench for both plugs.
Quick Quiz
Test your knowledge:
- What is the most important step before draining the transfer case fluid?
- A) Remove the drain plug
- B) Remove the fill plug
- C) Warm up the engine
(Answer: B – Remove the fill plug first to ensure you can refill.)
- How often should you typically change transfer case fluid?
- A) Every 10,000 miles
- B) Every 30,000–60,000 miles
- C) Every 100,000 miles
(Answer: B – Check your owner's manual for the exact interval.)
- What happens if you overfill the transfer case?
- A) It improves lubrication
- B) It can damage seals
- C) Nothing
(Answer: B – Overfilling causes pressure that can blow seals.)
If you remember one concept from this post, make it this one: **Changing transfer case fluid** on schedule is cheap insurance for your drivetrain. A $30 fluid change can save you a $1,500 replacement. Take the time to do it right, and your vehicle will reward you with years of reliable service. If you have questions, drop them in the comments—I read every one.



No letters yet — be the first to write.