
If you drive a four-wheel-drive or all-wheel-drive vehicle, understanding how and when to perform a transfer case fluid change is essential for long-term drivetrain reliability. The transfer case distributes power from the transmission to both front and rear axles, and its fluid lubricates gears, chains, and bearings under high load. Without fresh fluid, wear accelerates and repairs can cost thousands.
Let's start with the basics and build from there.
Why Transfer Case Fluid Matters
The transfer case is a mechanical gearbox (or chain-driven unit) that splits torque between axles. It operates under constant heat and stress. The fluid inside — either automatic transmission fluid (ATF) or a dedicated gear oil, depending on your vehicle — performs several critical jobs: it reduces friction between moving parts, carries away heat, protects against corrosion, and helps the shift mechanism engage smoothly.
Over time, that fluid breaks down. Heat cycles shear the oil molecules, and contaminants like wear particles accumulate. If you neglect a transfer case fluid change, the lubrication becomes less effective. Symptoms include grinding noises when shifting into four-wheel drive, difficulty engaging or disengaging the transfer case, and eventual gear or bearing failure. Replacing a transfer case can easily run $1,500 to $3,000 — a cost that far outweighs the $40–$80 for a fluid change.
When to Change Transfer Case Fluid — Intervals and Signs
Most manufacturers recommend a transfer case fluid change every 30,000 to 60,000 miles. However, if you frequently drive off-road, tow heavy loads, or operate in extreme temperatures, consider shortening that interval to 20,000–30,000 miles. Always check your owner's manual for your specific model.
What are the telltale signs that a fluid change is overdue?
- **Dark or burnt-smelling fluid** — Fresh transfer case fluid is usually red (ATF) or amber (gear oil). If it looks brown or black and smells like burnt toast, it's degraded.
- **Noisy operation** — Whining, clunking, or rattling from the center of the vehicle when in four-wheel drive.
- **Hard shifting** — Difficulty moving the selector lever or switch between 2H, 4H, and 4L.
- **Fluid leaks** — If you spot puddles under the transfer case area, the level may have dropped.
If you notice any of these, don't wait — a transfer case fluid change can often solve the issue before permanent damage occurs.

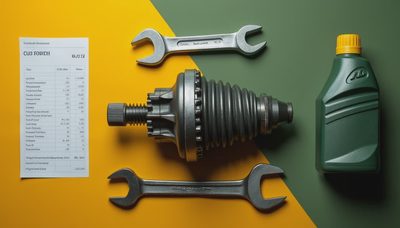
Tools and Materials You'll Need
Before diving into the job, gather the following:
- **Correct fluid** — Check your owner's manual or a trusted parts store lookup for the exact spec. Common fluids: Dexron III/Mercon V ATF, or 75W-90 synthetic gear oil.
- **Fluid pump** (for filling) — A hand pump or squeeze bottle with a hose makes refilling through the fill plug much easier.
- **Socket set and ratchet** — Typically 10mm, 12mm, or 14mm for the drain and fill plugs.
- **Drain pan** — At least 2-quart capacity.
- **Gasket or thread sealant** — Some plugs have a gasket; others require a dab of RTV or Teflon tape.
- **Jack and jack stands** — Not always needed, but having the vehicle level simplifies filling to the correct level.
Always prioritize safety: chock the wheels, and let the transfer case cool if the vehicle has been driven.
Step-by-Step Transfer Case Fluid Change Procedure
Now that you understand the why and when, let's walk through the actual transfer case fluid change. This procedure assumes a typical truck or SUV with a conventional transfer case. Always consult a service manual for your vehicle's specifics.
**Step 1: Position the vehicle.** Park on a level surface. If needed, raise the vehicle with a jack and support it on stands. Ensure you can safely access the transfer case.
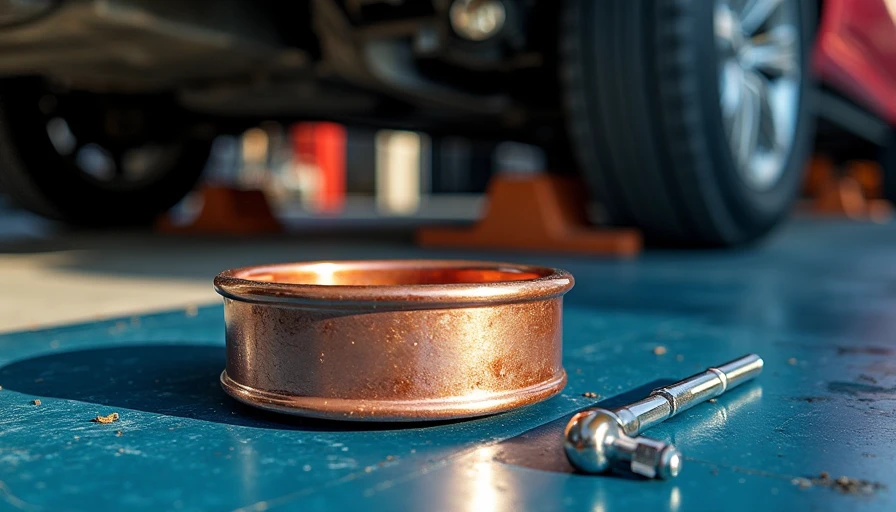
**Step 2: Locate the fill and drain plugs.** The transfer case has two plugs: a drain plug at the bottom and a fill plug on the side (usually higher up). The fill plug is the one you remove first — that way you're sure you can get it out before draining the old fluid. Use a socket to loosen both plugs slightly, but only remove the fill plug completely first.
**Step 3: Drain the old fluid.** Place your drain pan under the drain plug. Remove the drain plug and let the fluid flow out. It may be thick and dark. Allow it to drain completely, then clean the plug and any gasket surface.
**Step 4: Reinstall the drain plug.** Replace the drain plug, tightening it to the manufacturer's torque specification (usually 15–25 ft-lb). If the plug has a magnetic tip, clean off any metal particles.
**Step 5: Fill with new fluid.** Using your fluid pump, add new fluid through the fill hole. Fill until liquid just begins to drip out of the fill hole — that tells you the level is correct. The capacity is typically 1 to 2 quarts, but check your manual.
**Step 6: Reinstall the fill plug.** Clean the fill plug and replace it. Torque to spec.
**Step 7: Verify operation.** Lower the vehicle and start the engine. Cycle through the drive modes (2H, 4H, 4L) to ensure smooth engagement. Check for leaks around both plugs. Take a short test drive to confirm quiet operation.
That's it. A straightforward transfer case fluid change takes about 30 minutes and adds years of life to your drivetrain.
Quick Quiz
Test your knowledge with this quick check:
- What is the primary function of transfer case fluid?
- a) Lubricate the gears and bearings
- b) Cool the transmission
- c) Clean the engine
- True or false: You should always remove the drain plug before the fill plug.
- False — remove the fill plug first to ensure it can be removed.
- How often should most vehicles get a transfer case fluid change?
- a) Every 10,000 miles
- b) Every 30,000–60,000 miles
- c) Every 90,000 miles
Answers: 1a, 2False, 3b.
If you remember one concept from this post, make it this one: regular transfer case fluid change is a small, inexpensive investment that protects a very expensive component. Treat your transfer case like you treat your engine — with clean fluid at the right intervals.
_System Diagram reference: The transfer case sits behind the transmission and is connected by a driveshaft to each axle. Identify the two plugs (fill and drain) on your specific model before you start._


No letters yet — be the first to write.