Learning how to flush coolant can save you a repair bill, but the real reason to do it correctly is engine protection. Coolant carries heat away from the engine, protects metal passages from corrosion, and helps prevent freezing in winter. Old or contaminated coolant can lose those abilities and contribute to overheating, radiator blockage, water-pump wear, or head-gasket damage. Let's start with the basics and build from there.
A coolant flush removes used antifreeze and replaces it with fresh fluid. A simple drain-and-fill removes only the coolant that exits through the radiator drain, while a true flush uses additional water or a cooling-system cleaner to move more old fluid and deposits out. Your vehicle's service information determines which method is appropriate. Some newer vehicles use long-life coolant and require less frequent service, while older cars may need attention sooner because of the fluid type and cooling-system condition.
Understand the Cooling System Before You Start
The cooling system is a circulation loop. The water pump moves coolant through passages in the engine, where it absorbs heat. The thermostat is a temperature-controlled valve; it stays mostly closed during warm-up, then opens to send hot coolant to the radiator. Air passing through the radiator removes heat before the coolant returns to the engine. The heater core is a small radiator inside the cabin that uses engine heat for warm air.
The pressure cap, usually on the radiator or a pressurized expansion tank, raises the boiling point of the coolant. Never remove it from a hot engine. Even after the dashboard temperature gauge drops, trapped pressure can release scalding fluid. Park on level ground, allow the engine to become completely cold, and wear gloves and eye protection. Keep pets and children away because antifreeze tastes sweet but is poisonous.
Before beginning how to flush coolant, identify the correct fluid. Coolant chemistry varies: IAT, OAT, and HOAT are common formulations, but they are not automatically interchangeable. The color printed on the bottle is not a reliable specification. Use the owner's manual, the service information, or a parts catalog matched to the exact year, engine, and model. Mixing incompatible formulas can reduce corrosion protection and create deposits.
Gather Tools and Prepare the Vehicle
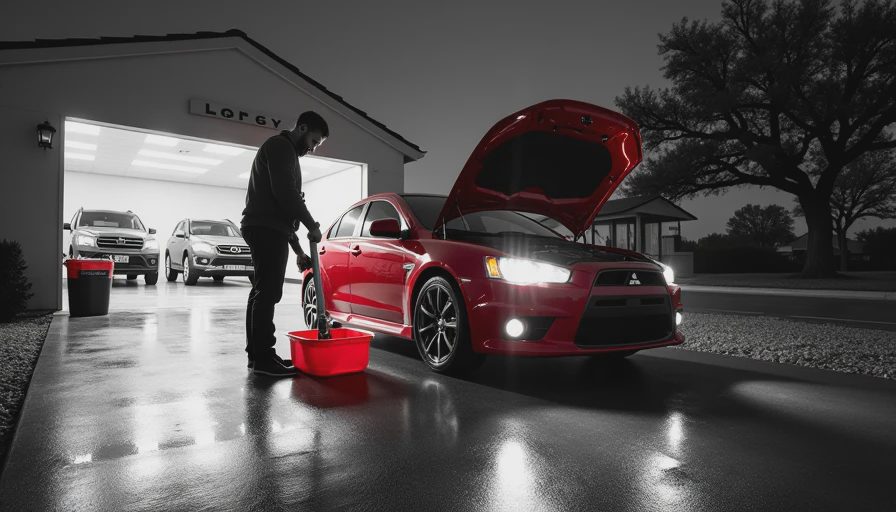
For most passenger cars, you will need a drain pan that can hold several gallons, safety glasses, gloves, ramps or a jack and properly rated jack stands if needed, pliers, a funnel, shop towels, and the specified coolant. Distilled water is useful when the manufacturer calls for a concentrate mixed with water. Premixed coolant already contains water, so adding more can weaken its freeze and boil protection.
Read the capacity in the owner's manual before buying supplies. A typical compact car may hold around 1.5 to 2 gallons, while a truck or large SUV can require more. Buy enough fluid for the vehicle and the flushing stage. Never drain coolant onto a driveway, street, or soil. Capture it in a sealed container and take it to an automotive-fluid recycling location, parts store, or household hazardous-waste program that accepts antifreeze.
Let the engine cool overnight when possible. Set the cabin heater to its hottest setting if the vehicle uses a conventional heater-control valve; this can help open the heater circuit. Do not rely on the heater setting alone to make a flush complete. Some vehicles have special air-bleed screws, a vacuum-fill procedure, or an electric water pump. Locate those instructions before opening the system.
Drain the Old Coolant
Place the drain pan under the radiator drain valve, also called a petcock. Remove the pressure cap only after confirming the engine is cold. Open the petcock slowly and allow the coolant to drain. If your vehicle has an engine-block drain, opening it can remove additional old fluid, but access is often difficult and the plug may be sealed with a gasket. Do not force a stuck drain plug until you know it can be replaced correctly.
If there is no radiator drain valve, disconnecting the lower radiator hose may be the alternative, but expect a sudden flow of fluid. Inspect the drained coolant. Rust-colored liquid, oily film, floating particles, or a strong chemical sludge indicate a problem beyond routine maintenance. An oily layer can point toward internal contamination, while repeated coolant loss suggests a leak. A flush will not repair a cracked hose, leaking radiator, failed water pump, or combustion-gas problem.
Close the drain valve or reconnect the hose securely. Replace a damaged hose clamp or sealing washer before refilling. This is a good time to inspect the radiator hoses, serpentine belt, radiator fins, and reservoir. A soft, swollen hose deserves replacement, especially if the vehicle has overheated.
Flush and Refill the System
For a basic drain-and-fill, add the manufacturer-approved premixed coolant. For a deeper flush, fill with distilled water or the specified cooling-system cleaner, run the engine with the heater operating as directed, allow it to cool completely, and drain again. Follow the cleaner's label. Never drive normally with a cleaner in the system unless the product specifically permits it.
Repeat the water-drain cycle until the liquid leaving the system is reasonably clear, then drain as much water as practical. If you use concentrate, mix it according to the manual, commonly a 50/50 ratio. Do not guess when the vehicle requires a different ratio. Pour slowly through a funnel to reduce spills and pause so air can escape from the system.
The final step in how to flush coolant is bleeding trapped air. Some vehicles use a bleed screw near the thermostat housing or a high point in the cooling system. Others require a particular fill sequence, elevated reservoir level, or vacuum filling tool. Start the engine only after confirming the drain is closed and the reservoir is filled to the correct mark. Watch the temperature gauge and cabin heater. If the gauge rises unusually, the heater blows cold, or coolant begins to boil, shut the engine off and let it cool before diagnosing the air lock.
Check for Leaks and Confirm the Level
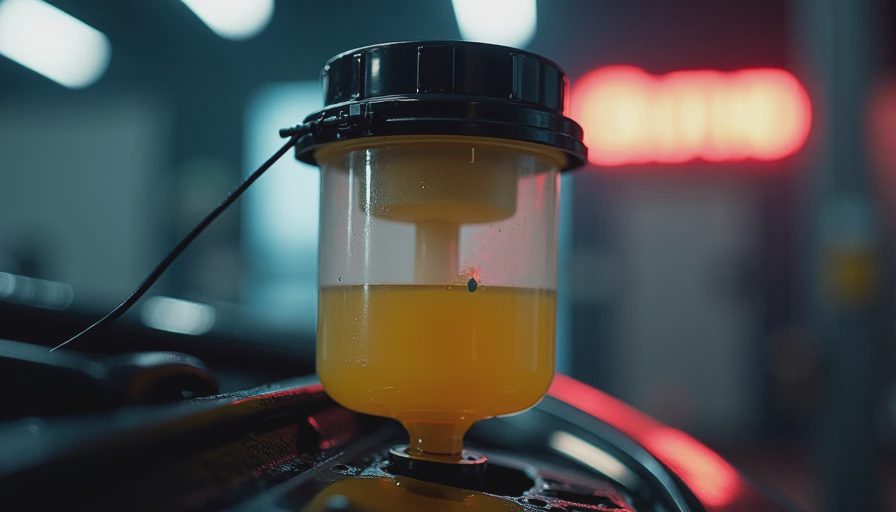
With the engine warm but not dangerously hot, check for leaks around the drain, hose connections, thermostat housing, radiator seams, and water pump area. Never place your hand near a suspected leak while the system is pressurized. Use a flashlight and look for fresh wetness or colored residue instead.
After the engine cools fully, recheck the reservoir and fill to the correct cold mark. The level can drop as small air pockets move into the reservoir. Recheck it over the next several drives. A small adjustment may be normal after service; repeated loss is not. A pressure test can help locate a leak that is too slow to see during a visual inspection.
If you are comparing how to flush coolant at home with professional service, a shop offers equipment that can vacuum-fill the system and test for pressure loss. DIY service might cost $40 to $100 in fluid and supplies, while professional labor and materials often run roughly $120 to $250, depending on the vehicle and region. The extra cost can be worthwhile when access is tight or the system requires a specialized bleeding procedure.
Quick Quiz and Final Checklist
Quick Quiz: Why should the pressure cap stay closed until the engine is cold? Because the cooling system can remain pressurized, and removing the cap too soon can release boiling coolant. What does the thermostat do? It regulates coolant flow as the engine reaches operating temperature. Why is color not enough to identify coolant? Different formulations can share similar colors, while one color can represent different chemical technologies.
Before you finish how to flush coolant, confirm five things: the fluid matches the manufacturer's specification, every drain and hose connection is secure, the coolant level is correct when cold, the system has been properly bled, and the old antifreeze is stored for responsible recycling. If you remember one concept from this post, make it this one: coolant service is a controlled heat-management job, not simply pouring liquid into a reservoir.
System Diagram reference: sketch the loop as engine passages to thermostat, radiator, water pump, and back to the engine, with the heater core branching from the warm side. Seeing that path makes symptoms easier to understand. If the job requires removing a special battery cover, programming an electric pump, or accessing a hidden bleed screw, use the factory procedure or a qualified technician. Done carefully, how to flush coolant becomes a repeatable maintenance skill that protects your engine and your wallet.


No letters yet — be the first to write.