Let's start with the basics and build from there. If you notice a red puddle under your car or a burning smell from the engine bay, you might need to **fix a transmission fluid leak**. Transmission fluid is the lifeblood of your automatic or manual gearbox—it lubricates, cools, and transfers hydraulic pressure. A leak can quickly lead to slipping gears, rough shifts, and even total transmission failure. Addressing it early can save hundreds of dollars in repairs. In this article, I'll walk through the systematic process to diagnose, locate, and repair common transmission fluid leaks safely.
Why Fixing a Transmission Fluid Leak Matters
Ignoring a transmission fluid leak is like ignoring a slow bleed from your car's circulatory system. Low fluid levels cause increased friction and heat, which accelerate wear on clutches, seals, and bearings. Over time, the transmission can overheat and fail—a replacement typically costs $3,000–$5,000. On the other hand, a simple seal replacement or pan gasket change often costs under $100 in parts. Knowing how to **fix a transmission fluid leak** promptly protects your wallet and your car's reliability. Even if you plan to call a shop, understanding the source helps you avoid getting upsold on unnecessary repairs.
Common Causes of Transmission Fluid Leaks
Before you grab tools, you need to identify the source. The most common leak points include:
- **Transmission pan gasket** – Worn or improperly torqued gasket allows fluid to seep out.
- **Drain plug or fill plug** – Loose or stripped plugs can leak.
- **Transmission fluid cooler lines** – Rubber hoses or metal lines can crack or corrode, especially near the radiator.
- **Front pump seal** – A worn input shaft seal often leaks at the front of the transmission.
- **Rear extension housing seal** – Leaks near the driveshaft connection.
- **Speed sensor or other external seals** – Deteriorated O-rings around sensors.
To confirm the exact source, clean the area thoroughly with degreaser, then run the engine and look for fresh drips. Sometimes dye and a UV light help. Knowing the cause is the first step to **fix a transmission fluid leak** effectively.
Tools and Safety Gear You'll Need
Before starting, gather the following:
- Floor jack and jack stands (or ramps) – never work under a car supported by a jack alone.
- Safety glasses and gloves – transmission fluid can irritate skin.
- Drain pan and shop towels.
- Torque wrench – crucial for tightening bolts to spec.
- Replacement gasket or seal (check your vehicle's service manual).
- Transmission fluid (exact type specified by manufacturer—ATF or manual gear oil).
- Degreaser, scraper, and rags.
- Pliers, wrenches, and screwdrivers as needed.
Having everything ready avoids mid-job trips to the auto parts store. Remember, using the wrong fluid can damage your transmission, so double-check the label.
Step-by-Step: How to Fix a Transmission Fluid Leak
Now let's walk through a typical pan gasket replacement—one of the most common DIY fixes. This procedure assumes you have a basic mechanical understanding and the tools above.
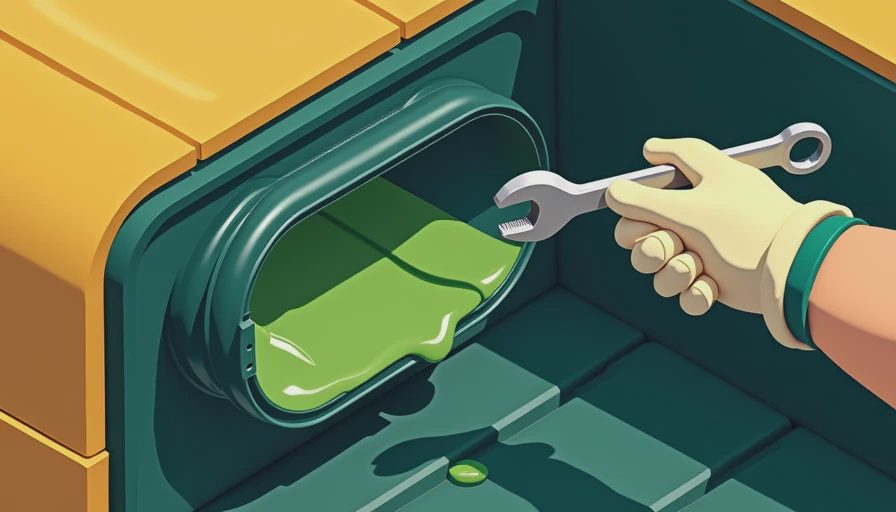
- **Prepare the vehicle** – Park on a level surface, engage the parking brake, and lift the front end securely on jack stands. Let the engine cool completely.
- **Drain the fluid** – Place a drain pan under the transmission pan. Loosen the drain plug (if equipped) or remove the pan bolts starting from the center outward. Carefully lower the pan—fluid will spill. Clean the pan with degreaser and inspect for metal shavings (which may indicate internal damage).
- **Remove the old gasket** – Scrape off any gasket residue from both the pan and transmission housing. Use a plastic scraper to avoid scratching the metal surfaces.
- **Install the new gasket** – Position the new gasket on the pan (many gaskets have locating tabs or adhesive). Apply a thin bead of RTV sealant only if specified by the manufacturer.
- **Reinstall the pan** – Torque the bolts to the factory specification in a crisscross pattern—typically 10–15 ft-lb. Over-tightening can warp the pan or damage the gasket.
- **Refill fluid** – Lower the vehicle. Add the correct amount of new transmission fluid through the dipstick tube or fill plug. Start the engine and cycle through gears, then check and adjust the level.
- **Inspect for leaks** – Drive the car briefly and recheck under the vehicle. If no drips appear, you've successfully learned how to **fix a transmission fluid leak** from the pan.
For other leak sources, the process differs: cooler line leaks require cutting and replacing hose sections; pump or extension housing seals usually need professional removal of the transmission.
When to Call a Professional
Not all leaks are DIY-friendly. If the leak comes from the front pump seal, torque converter area, or internal seals, the transmission must be removed to fix it. Also, if you find excessive metal debris in the pan or the vehicle has over 100,000 miles without a fluid change, internal wear may be advanced. In these cases, attempting to **fix a transmission fluid leak** without the right tools could cause more harm. A transmission shop can perform a pressure test and reseal the unit properly. Weigh the cost of pro repair (typically $200–$800 for seal jobs) against the risk of further damage.

Quick Quiz
Test your knowledge from this article:
- What is the most common gasket that causes a transmission fluid leak? (Answer: transmission pan gasket)
- Why is it important to torque pan bolts to spec? (Answer: to avoid warping the pan or damaging the gasket)
- True or False: Using any bottle labeled "transmission fluid" is fine for all cars. (False—must match manufacturer specification)
If you remember one concept from this post, make it this one: **fix a transmission fluid leak** as soon as you see a drip—small leaks become big failures. Grab a flashlight, a clean rag, and a drain pan, and you're already on the right track. Stay curious and safe out there.


No letters yet — be the first to write.