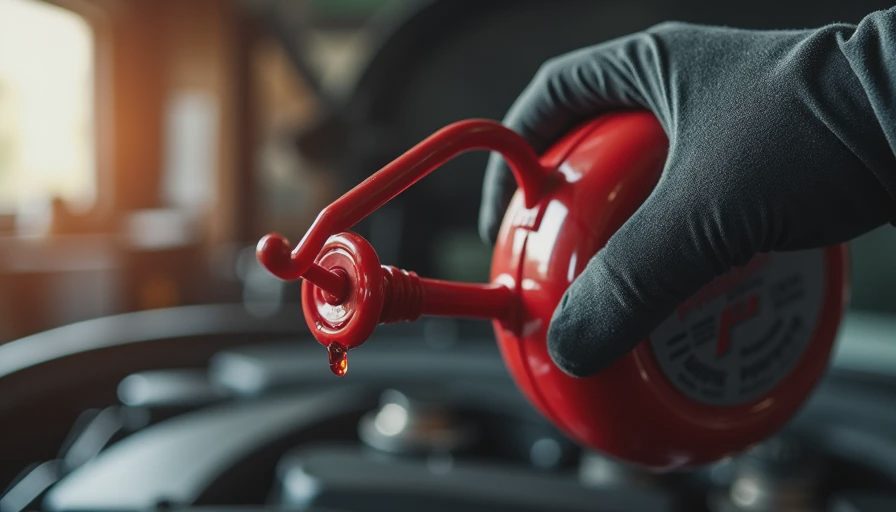
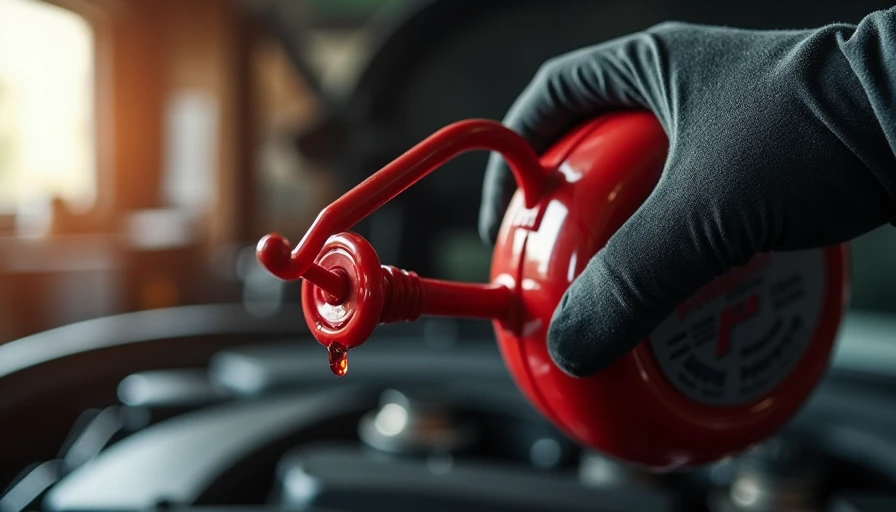
Let's start with the basics and build from there. Brake fluid is the lifeblood of your braking system, yet it's one of the most overlooked maintenance items. Over time, it absorbs moisture from the air—a process called hygroscopic absorption—which lowers its boiling point and can lead to brake fade or complete failure. That's why performing a **brake fluid flush step by step** is a skill every car owner should have. In this guide, I'll walk you through the entire process, from understanding the fluid to safely flushing your system.
What Is Brake Fluid and Why Does It Need Flushing?
Brake fluid is a specially formulated hydraulic fluid that transfers force from your brake pedal to the calipers or wheel cylinders. Most vehicles use DOT 3, DOT 4, or DOT 5.1 fluid, each with different boiling points. The key property to understand is hygroscopicity: brake fluid naturally pulls moisture out of the air through rubber seals and even the reservoir vent. Over time, water content increases, which lowers the fluid's boiling point. If the fluid boils during hard braking, vapor bubbles form—and vapor compresses, meaning your pedal goes to the floor. Manufacturers typically recommend a flush every 2 years or 30,000 miles, but many drivers ignore it until they feel brake fade. Let's not be those drivers.
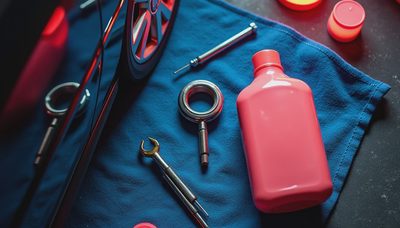
Tools and Supplies for a Brake Fluid Flush
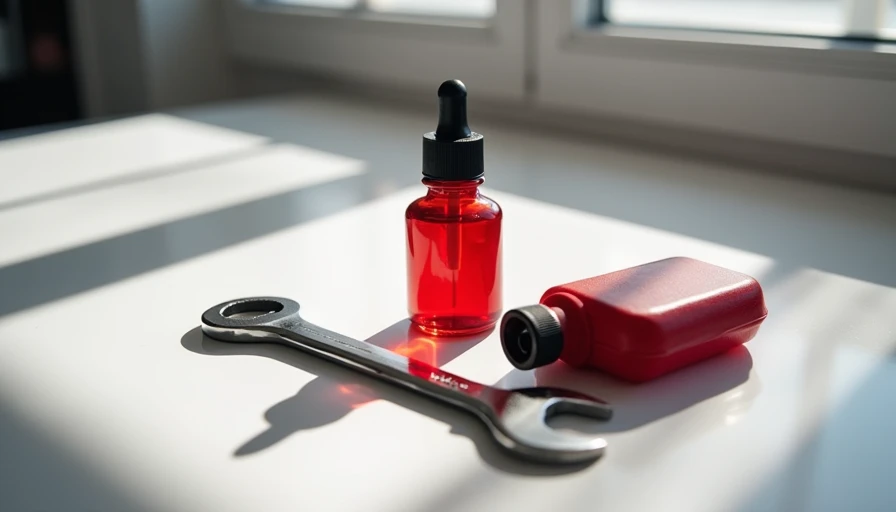
Before you start, gather the right tools. You'll need:
- **Fresh brake fluid** (check your owner's manual for the correct DOT rating; I recommend a sealed bottle of Prestone or ATE brand)
- **Turkey baster or syringe** to remove old fluid from the reservoir
- **Wrench or socket** (typically 8mm, 10mm, or 11mm) for bleeder screws
- **Clear vinyl tubing** (about 1/4-inch inner diameter) to fit over the bleeder
- **Catch container** (a clear bottle helps you see fluid color)
- **Jack and jack stands** (or ramps) to raise the vehicle safely
- **Helper** (or a one-person bleeder kit with a one-way valve)
- **Safety glasses and gloves** (brake fluid eats paint and irritates skin)
Don't reuse old fluid—always use fresh from a sealed container. Also, never mix DOT 5 (silicone) with DOT 3/4/5.1 (glycol-based); it can cause seal damage.
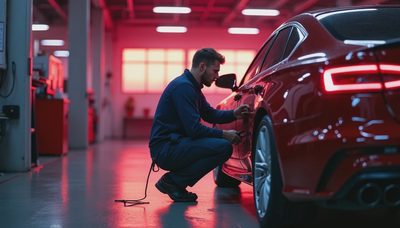
Brake Fluid Flush Step by Step: The Complete Procedure
Now for the main event. Perform these steps on level ground with the engine off and the parking brake set. I recommend working on one wheel at a time, starting with the wheel farthest from the master cylinder (usually the passenger rear), then moving to the driver rear, passenger front, and finally driver front.
**Step 1: Remove Old Fluid from Reservoir**
Use the turkey baster to suck out as much old fluid as possible from the master cylinder reservoir. Don't let the reservoir run dry during the procedure—refill it immediately after this step.
**Step 2: Fill with Fresh Fluid**
Fill the reservoir to the MAX line with fresh brake fluid.
**Step 3: Bleed Each Brake Caliper**
Attach the clear tube to the bleeder screw on the first caliper, and place the other end into your catch container with some fluid covering the tube end (to prevent air sucking back). Have your helper pump the brake pedal 3-4 times and hold it down. Open the bleeder screw about a quarter turn—fluid and old fluid will flow out. Close the bleeder before your helper releases the pedal. Repeat this process until you see clean, clear fluid flowing through the tube (usually 5-10 cycles). Check the reservoir level frequently and top off with fresh fluid.
**Step 4: Repeat for Each Wheel**
Move to the next wheel in the sequence and repeat Step 3.
**Step 5: Test and Top Off**
Once all wheels are done, test the brake pedal feel. It should be firm, not spongy. Top off the reservoir to the MAX line and replace the cap.
Quick Quiz: Test Your Brake Fluid Knowledge
**Question 1:** Why does brake fluid need periodic flushing?
A) Because it evaporates over time
B) Because it absorbs moisture, lowering its boiling point
C) Because it gets contaminated by dirt
**Answer:** B. Hygroscopic absorption is the main reason.
**Question 2:** What is the correct bleeding sequence for a typical front-wheel-drive car?
A) Left front, right rear, right front, left rear
B) Right rear, left rear, right front, left front
C) Any order works
**Answer:** B. Start with the wheel farthest from the master cylinder.
**Question 3:** Can you mix DOT 4 and DOT 5.1 fluid?
A) Yes, they are compatible
B) No, they can cause seal failure
C) Only in emergencies
**Answer:** A. Both are glycol-based and compatible, though DOT 5.1 has a higher boiling point.
Final Thoughts: Don't Skip This Essential Maintenance
Performing a **brake fluid flush step by step** is a straightforward job that can save you hundreds of dollars and improve your stopping power. If you're not comfortable working with brakes, a shop will typically charge around $100–$150 for this service. But doing it yourself gives you confidence in your car's safety. Remember to always use fresh fluid, follow the correct bleeding order, and never let the reservoir run dry. If you remember one concept from this post, make it this one: brake fluid absorbs moisture, so flush it regularly to keep your brakes responsive. Now get out there and give your brakes the care they deserve.

No letters yet — be the first to write.