Knowing how to check brake pads is a skill every driver should have. Your brake pads are the single most important wear item for stopping safely. Worn pads reduce stopping power, increase stopping distance, and can damage rotors, turning a $50 pad replacement into a $500 rotor-and-pad job. Let's start with the basics and build from there.
What Brake Pads Do
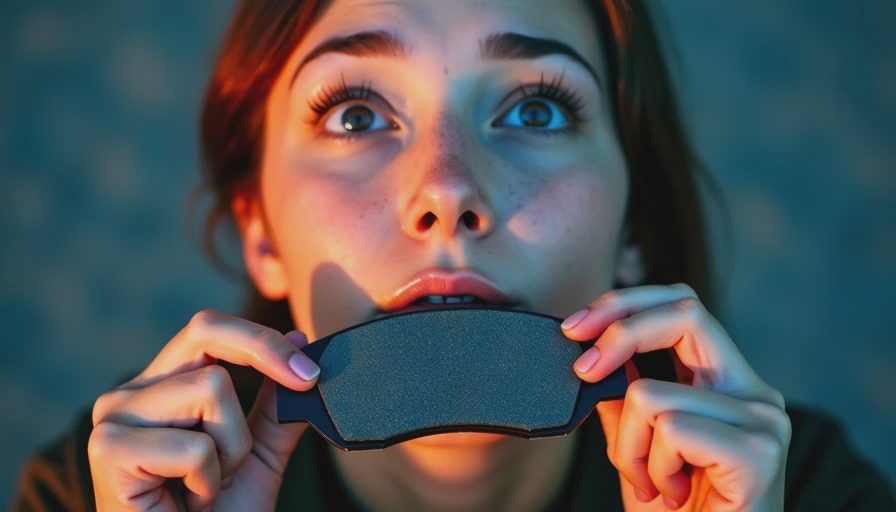
Brake pads press against the rotor to create friction that slows your car. They have a metal backing plate covered with friction material—usually a composite of fibers, resins, and fillers. Over time, that material wears down. Most pads start with about 10-12 mm of friction material. When it reaches 3-4 mm, it's time to replace them. At 2 mm or less, you risk metal-on-metal contact, which scores the rotor and drastically reduces braking performance.
Visual Inspection: The Core Method
The most reliable way to check brake pads is a visual inspection. You don't need special tools—just a flashlight and maybe a jack if your wheels have small openings. Park on level ground, turn the steering wheel to expose the brake caliper on each wheel, and look through the spokes or between the wheel openings.
Step-by-Step: How to Check Brake Pads Visually
Step 1: Position the Wheel
Turn the steering wheel all the way to one side to expose the front brake caliper on that side. Repeat for the rear—though many rear calipers are visible without turning. For wheels with small openings, you may need to lift the car and remove the wheel. If you do, use jack stands—never rely on the jack alone.
Step 2: Locate the Outer Brake Pad
Look for the brake caliper—a metal assembly clamped around the rotor. The outer brake pad is the friction material pressed against the rotor's outer face. You should see a thin strip of material between the caliper piston and the rotor.
Step 3: Measure Friction Material Thickness
Visually estimate the thickness of the pad's friction material. Compare it to a new pad's thickness (about 10-12 mm). If it looks less than 4 mm, it's time to replace. You can also use a simple ruler or a pad wear gauge for accuracy. Remember: the inner pad often wears faster than the outer, so if possible, check the inner pad by looking through the caliper opening or using a mirror.
Step 4: Check for Wear Indicators
Many modern pads have a metal tab that contacts the rotor when the pad is thin, producing a high-pitched squeal. If you hear that sound while driving, your pads are likely at the wear indicator—usually around 3 mm. But don't rely on sound alone; visual confirmation is best. Also look for wear grooves on the pad: some pads have a slot that disappears as the pad wears.
Step 5: Inspect for Abnormal Wear
Look for uneven wear: one side of the pad thinner than the other can indicate a stuck caliper or worn guide pins. Scoring (grooves match the rotor), glazing (shiny, hard surface), or cracking are signs the pad may have overheated or been contaminated. Any of these conditions means you should replace the pads and diagnose the underlying issue.
When to Replace Brake Pads
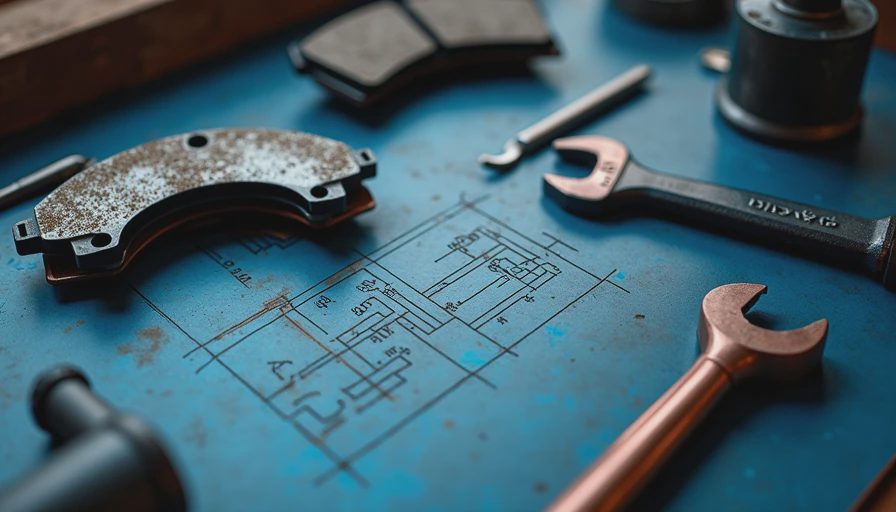
A general rule: replace pads when the friction material is 3-4 mm thick or less. Many shops recommend replacement at 3 mm. If you see any metal on the backing plate or hear grinding, stop driving immediately—you're damaging the rotors. For most drivers, that means checking pads every 10,000-15,000 miles, or every oil change if you're aggressive on brakes.
Frequently Asked Questions About Brake Pad Inspection
How often should I check brake pads?
Most experts recommend checking brake pads every 10,000 to 15,000 miles. If you frequently drive in stop-and-go traffic or carry heavy loads, check them more often—every 5,000 to 7,500 miles. Knowing how to check brake pads regularly can help you catch wear early.
Can I check brake pads without removing the wheel?
Yes, in many cars you can see the outer pad through the wheel spokes. Use a flashlight and turn the steering wheel to expose the caliper. If you can't see clearly, you'll need to lift the car and remove the wheel for a full inspection.
What if my pads look uneven?
Uneven wear—one pad thinner than the other on the same axle—usually signals a problem. Sticking caliper slide pins or a seized caliper piston cause uneven pressure. Replace the pads and have the caliper serviced at the same time.
Is the squeal indicator reliable?
The metal wear indicator is a good backup, but it can be inconsistent. Some pads have indicators only on the inner pad, and the sound may come and go. Visual inspection remains the gold standard.
Quick Quiz: Test Your Knowledge
- What is the minimum safe thickness of brake pad friction material? (Answer: 3-4 mm)
- What does a high-pitched squeal when braking typically indicate? (Answer: Wear indicator contacting the rotor)
- If the inner pad is significantly thinner than the outer pad, what might be the cause? (Answer: A stuck caliper or worn guide pins)
Final Thoughts
Learning how to check brake pads takes about five minutes and can save you hundreds of dollars in rotor replacements and prevent dangerous brake failure. Make it part of your routine vehicle inspections. If you remember one concept from this post, make it this one: 3 mm is your red line—once the friction material gets that thin, order new pads. Your rotors—and your wallet—will thank you.


No letters yet — be the first to write.